Kai’Sa ADC Guide for League Patch 26.15
Play Kai’Sa ADC in League Patch 26.15 with a plan for passive stacks, isolated Q damage, safe ultimate angles, item evolves and objective-fight positioning.

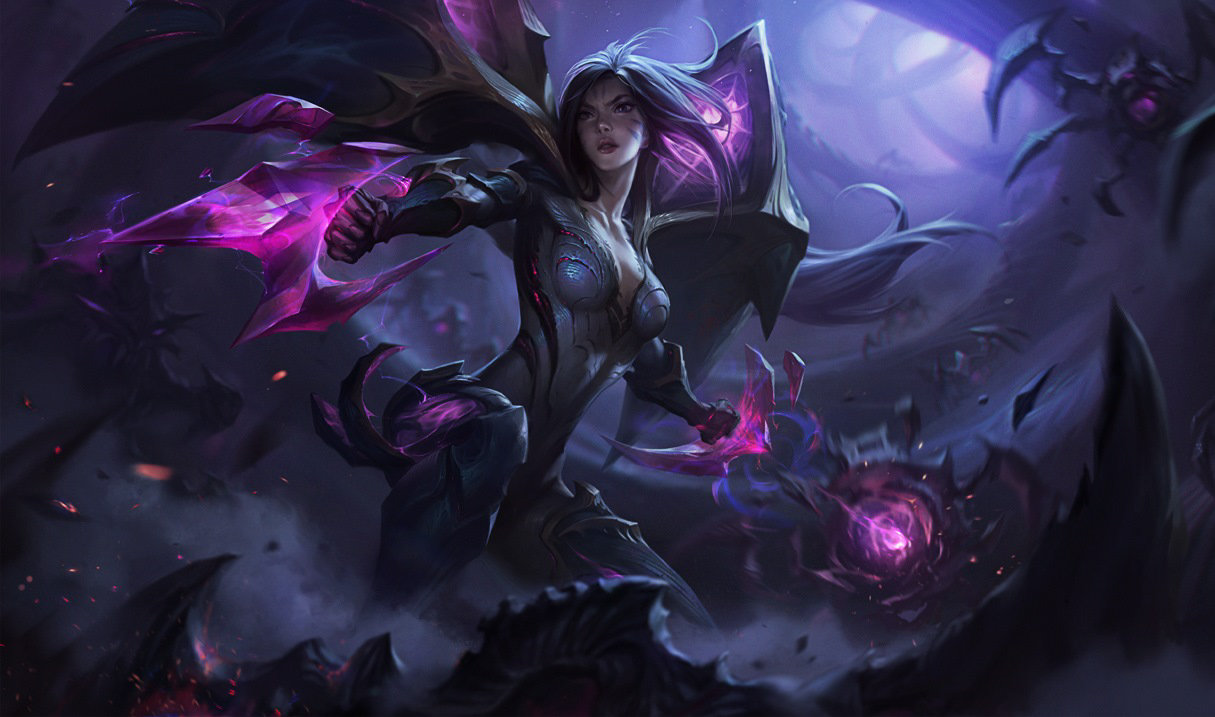
Patch 26.15 increased Kai’Sa’s passive damage per level and per existing Plasma stack while leaving the AP ratio unchanged. The buff rewards deliberate stack completion, but it does not remove her short range or make every ultimate engage safe. This guide focuses on repeatable decisions.
Before the match
Choose runes and starting items for the lane you actually have, then track the stat thresholds needed for ability evolves in the current client. Builds change with balance and matchup. Your stable plan is to reach Q and E evolutions without sacrificing the defensive tool needed against the enemy composition.
Step 1: Trade around Plasma, not random autos
Kai’Sa’s passive rewards completing stacks, especially when allied crowd control adds Plasma. In lane, identify whether your support can start a short stack sequence. Stop the trade when the enemy response becomes stronger; a partial mark does not justify losing control of the wave.
Step 2: Create isolated Q windows
Icathian Rain spreads across nearby targets. Step away from the minion wave or wait until it thins before using Q on a champion. Isolation converts the same button into meaningful burst. Do not walk through dangerous support range merely to manufacture it.
Step 3: Use W as information and commitment
Void Seeker is valuable for long-range Plasma and vision on hit, but a missed W removes much of your follow-up threat. Fire it through predictable movement after crowd control or from fog. In lane, preserve it when the enemy jungler’s location is unknown.
Step 4: Treat E as survival first
Supercharge creates repositioning and later gains invisibility after evolution. Use the speed to exit a threat or change an angle before treating it as an attack-speed steroid. Entering a fight with E unavailable makes Kai’Sa’s short range much easier to punish.
Step 5: Ultimate to a safe edge
Killer Instinct targets a Plasma-marked enemy but lets Kai’Sa choose a landing point within the allowed area. Land on the outside of the fight, using the shield and terrain to avoid immediate crowd control. The highlight-reel backline dive is correct only when key responses are already spent.
Step 6: Fight objectives from two ranges
Before an objective starts, look for W poke and allied crowd-control marks. Once the fight commits, attack the closest safe target until a genuine ultimate angle appears. Kai’Sa can change depth quickly, but she should not skip the front line by habit.
How to communicate the plan
Keep calls short enough to act on. Name the next space, the key cooldown or utility piece, and the condition that cancels the play. Teammates do not need a lecture during the round. They need timing and responsibility. If the first condition changes, say so immediately instead of silently following an obsolete plan.
Good communication separates information from guesses. Report what was seen, heard or used before offering an inference. This prevents the team from stacking several assumptions into one reckless move. After the round, discuss one decision that can be repeated, not every mechanical error at once.
Adapting when the opponent responds
No guide survives contact unchanged. Opponents can hold a different angle, preserve a defensive tool or change their route after recognizing the pattern. Keep the objective of each step even when its exact method changes. If a smoke, ward, spell or path no longer removes the intended threat, replace the tool or choose another timing rather than completing the script for its own sake.
Use the first failed attempt as information. Identify whether the plan lost to execution, missing knowledge or a correct enemy counter. Execution can be drilled; missing information can be gathered; a hard counter requires a branch. Treating all three as bad luck prevents improvement.
Practice routine
In practice tool, rehearse isolated Q at different minion counts, W into ultimate landing choices, and E repositioning around walls. Then review one match at every ultimate use: pause before activation and identify all enemy crowd-control abilities that could hit the chosen landing point.
Measure one result at a time: arrival timing, resources remaining, first-trade success or objective conversion. A simple written note after three repetitions is more useful than ten unreviewed attempts. Once the baseline is stable, introduce one variable so the practice still resembles a live opponent.
Common mistakes
Common errors are forcing passive detonations through a losing trade, ulting to the center instead of the edge, using E before the enemy engage, and delaying a coherent item spike to chase every evolution simultaneously. Patch buffs improve successful sequences; they do not rescue poor positioning.
Continue with our practical guides and follow the latest stories in the Kaizensclan archive.
Final match checklist
Before committing, confirm the objective, the first responsibility and the exit condition. During the play, watch the information that could invalidate the plan. Afterward, convert the advantage or reset safely. This three-part checklist keeps a practiced sequence connected to the live match instead of turning it into automatic movement.
Editorial note
Facts and mechanics were checked against the linked primary sources before publication.
This article was reviewed on August 7, 2026.

Related stories
League top-lane freeze guide for patch 26.15
A top-lane freeze is controlled wave imbalance, not simply refusing to attack. Patch 26.15 is the reference version. Keep a small enemy minion advantage.
Thresh support guide for League patch 26.15
This Thresh support guide treats the champion as a decision maker, not a hook lottery. Patch 26.15 is the reference version. Your lane plan should combine.
League patch 26.15 jungle objective trading guide
Objective trading means accepting that the enemy will finish one play and converting the time somewhere else. In patch 26.15, the principle is unchanged by.
Community channel
Join the discussion
Start a thoughtful, specific conversation about this story.
Verified readers only
Continue with Google to comment.
Your Google account creates a reader-only Kaizensclan profile. Your first comment is reviewed before publication.