Dota 2 support warding guide for Patch 7.41e
This Dota 2 support warding guide explains lane information, objective vision, sentry sequencing, smoke routes, safe dewards and review for Patch 7.41e.

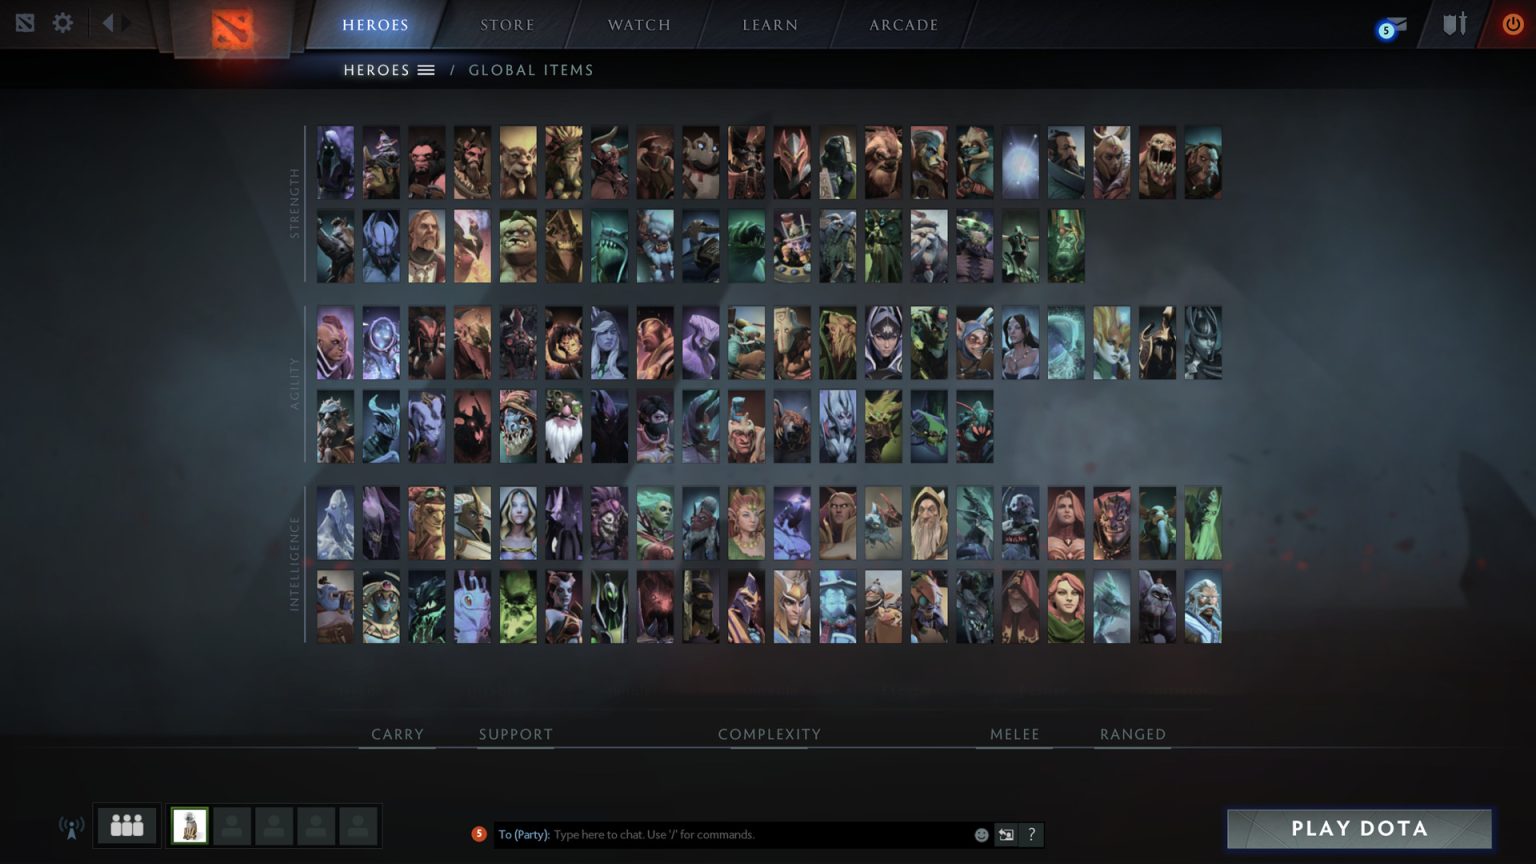
Updated for Dota 2 Patch 7.41e.
This Dota 2 support warding guide is for players who buy vision but still leave the team surprised. The goal is to place Observer and Sentry Wards around the next movement, protect the information long enough to use it and stop dying for a deward that changes nothing.
Step 1: name the next objective
Before placing a ward, identify what the team wants during its duration: defend a farming triangle, invade, control Roshan, protect a tower or prepare a smoke.
A ward in a famous location is not automatically useful. It should reveal the path opponents must take to contest the stated plan.
Step 2: use lane information first
Visible enemy heroes reduce the number of routes vision must cover. Push or safely observe lanes before walking into darkness with two wards and the team’s detection.
If several opponents are missing, ask for an escort or place defensive vision from protected ground. A support death also donates the wards carried.
Step 3: separate Observer and Sentry jobs
An Observer provides information; a Sentry reveals enemy wards and invisible units. Overlapping them can be correct, but only when the area needs both functions.
Placing detection first may reveal whether the Observer location is already watched. Avoid stacking resources where one enemy deward removes the complete plan.
Step 4: ward routes, not only cliffs
Cliff wards see widely and are checked frequently. Lower or unusual wards can reveal the exact corridor relevant to a smoke, retreat or objective.
Choose the smallest vision area that answers the question. Hidden information that survives can be worth more than maximum radius removed immediately.
Step 5: deward with an exit
Before attacking an enemy ward, check nearby heroes, high ground and escape spells. The gold bounty is not worth a support death or lost teamfight setup.
Let a ranged ally finish the ward when possible. If enemies contest, the team should know whether to fight, retreat or use the ward as bait.
Step 6: refresh vision after movement
A tower loss, successful smoke or objective kill changes useful sightlines. Move the next ward forward or backward with the team instead of defending yesterday’s map.
Remove obsolete pings and state which area is now dark. Honest information is better than confidence based on an expired ward.
Step 7: review information gained
In the replay, note which wards revealed a rotation, protected farm or enabled an objective. Also mark wards that saw nobody because the team never played nearby.
Improve the question before changing the spot. Good warding is a decision system, not a secret coordinate list.
Communication protocol
Reduce the complete plan to three calls the team can use during a real Dota 2 match: the immediate objective, the first timing and the abort condition. Long explanations belong before the queue or during review. In play, every sentence should change positioning, resource use or target priority.
When information changes, name the fact before the response. “Two players seen,” “key cooldown used,” or “route blocked” gives teammates evidence; “this feels bad” does not. The caller can then keep the plan, delay it or switch without forcing five private guesses.
Common failure patterns
The most frequent error is correct individual execution at different times. One player begins while support is moving, another spends the final resource after contact and a third follows the original call after the abort. Review synchronization before replacing mechanics.
The second error is treating one success as proof that every condition was correct. Opponents may miss a punish or choose another side of the map. Save the replay and ask which information made the plan safe enough, not only whether the scoreboard awarded the result.
Quick checklist
- State the objective and first timing.
- Confirm required players and resources.
- Name the opponent’s most likely interruption.
- Keep one clear abort condition.
- Assign the next action after success.
Practice and review
Run the plan in a custom lobby or low-stakes match before using it in competition. Record one successful attempt and one failure, then change only the step supported by evidence. A repeatable guide is useful because the team can identify where execution broke instead of inventing a new system after every loss.
Confirm the live client against the official update source before relying on exact mechanics. Patches can change timings, costs and map geometry without changing the decision process described here.
Build a reliable baseline
Keep the review specific: note the clock, the unavailable resource and the teammate who could not participate. Repeat the same setup three times before judging it. Consistency exposes whether the problem comes from the plan itself or from execution, and gives the team a stable baseline for the next practical team adjustment.
Use our Roshan control guide and Tormentor checklist to connect vision with neutral objectives.
Editorial note
Facts and mechanics were checked against the linked primary sources before publication.
This article was reviewed on August 7, 2026.

Related stories
Dota 2 Watcher control guide for patch 7.41e
Dota 2 Watcher control is useful when it protects the next movement, not when a support activates every structure on cooldown. Patch 7.41e is the reference.
Dota 2 Twin Gate rotation guide for patch 7.41e
A Dota 2 Twin Gate rotation trades travel time for commitment. Patch 7.41e is the reference version. Use the gate when the destination creates a numbers.
Dota 2 courier control guide for patch 7.41e
Good Dota 2 courier control protects a timing rather than chasing perfect convenience. Patch 7.41e is the reference version. Each player owns a courier, but.
Community channel
Join the discussion
Start a thoughtful, specific conversation about this story.
Verified readers only
Continue with Google to comment.
Your Google account creates a reader-only Kaizensclan profile. Your first comment is reviewed before publication.