Monster Hunter Wilds first hunt preparation guide
Prepare for your first Monster Hunter Wilds hunt with practical steps for weapons, items, meals, wounds, Seikret loadouts and post-hunt upgrades. Analysis.

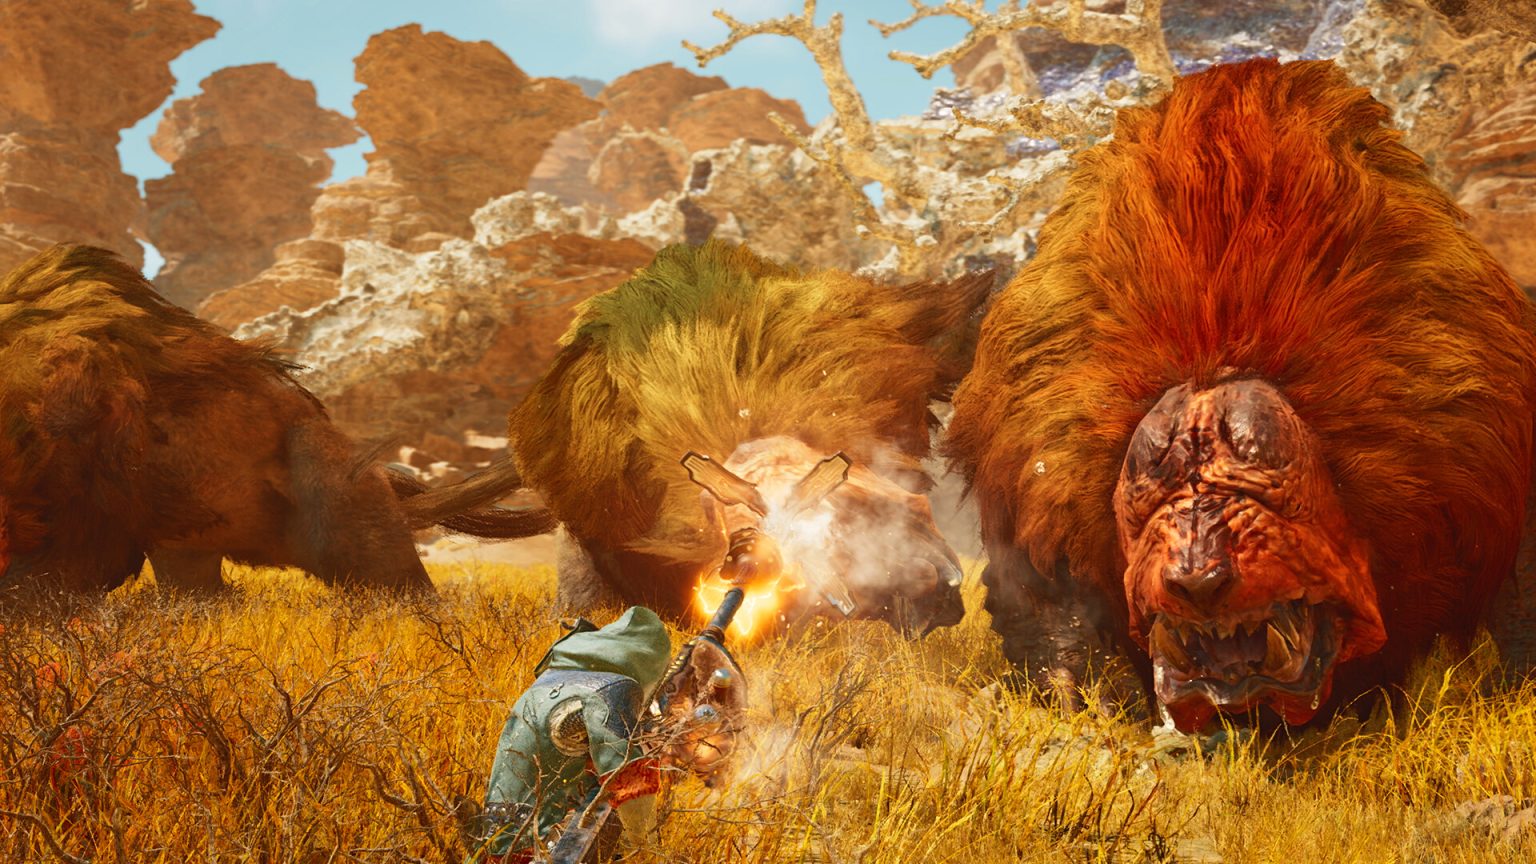
This Monster Hunter Wilds first hunt guide explains the preparation loop before a new player leaves camp. It is updated for the live PC version available in August 2026, but Capcom continues to patch the game; verify current event and title-update details on official channels.
Step 1: choose a weapon by rhythm
Test several weapons in the training area. Select one whose basic movement, defence and recovery make sense before chasing a tier list. Great Sword rewards prediction, Sword and Shield offers flexibility, Lance emphasizes guarding, and ranged choices introduce ammunition or coating management.
Learn one short safe sequence and one high-commitment option. The first hunt is about recognizing openings, not reproducing a complete combo chart.
Step 2: read the equipment skills
Compare armour by skills and defence, not appearance alone. A modest skill that supports survivability or weapon rhythm may help more than an offensive bonus that is rarely active.
Upgrade within the materials you can replace. Early equipment will change, so preserve rare resources until you understand the next crafting target.
Step 3: stock a simple item pouch
Carry healing, status recovery relevant to the target and tools you know how to use. An overloaded pouch creates menu friction. Configure the radial menu before leaving so emergency healing is a practiced input.
Restock after every hunt. Consistency prevents the second quest from starting with the remains of the first.
Step 4: eat before departure
Use the meal system to increase the margin for mistakes and support the planned weapon. Do not wait for a failed hunt to remember food.
Check effect duration and available ingredients in the current build. Meals are part of preparation, not a decorative camp scene.
Step 5: configure the Seikret loadout
Your Seikret supports travel and access to a secondary weapon. Choose the second weapon for a clear reason: a different range, a safer matchup or a condition the primary choice handles poorly.
Switching is an option, not a requirement. New players often improve faster by understanding one weapon deeply while keeping the backup for specific problems.
Step 6: observe before attacking
Watch the monster’s first movement cycle. Identify the direction of major attacks, the length of recovery and whether the environment creates hazards. One missed opening costs less than an early cart.
Keep the camera and escape path under control. Positioning is the foundation beneath every damage combo.
Step 7: use wounds deliberately
Focus Mode helps target exposed wounds and perform Focus Strikes. Treat a wound as a planned damage window rather than attacking it from an unsafe angle.
Coordinate in multiplayer so several hunters do not interrupt one another while chasing the same point. The monster’s next action still has priority.
Step 8: learn from one failure signal
After a cart, name the cause: greed, camera, status, stamina, wrong item or unfamiliar move. Change one behaviour on the return. Trying to repair everything at once produces no reliable lesson.
If the hunt fails, the collected information remains progress. Preparation improves when it responds to observed mechanics.
Step 9: convert rewards into the next plan
At camp, review target materials, armour skills and weapon branches before crafting. Do not spend resources only because an item has a green arrow.
The official Steam page lists current PC requirements and updates. For a broader action-RPG evaluation, see our Avowed review from this batch and the existing Path of Exile 2 review.
Step 10: use the environment without depending on it
Terrain features, endemic life and other environmental tools can create openings. Observe how they work before drawing the monster into an unfamiliar hazard. A failed setup can place the hunter in a worse camera position than ordinary combat.
Treat environmental damage as a bonus to sound weapon fundamentals. The hunt should remain controllable if the opportunity does not appear.
Step 11: prepare multiplayer etiquette
Bring your own healing and supplies, avoid repeatedly launching teammates with disruptive attacks, and watch the shared faint limit. Multiplayer increases damage opportunities but also makes the monster’s target changes harder to predict.
Use a short signal for sleep, traps or a planned capture so allies do not cancel the setup. If playing solo, Palico support still changes openings; learn its effects instead of assuming every stagger came from your weapon.
Before the next target, save a basic loadout and a target-specific variant. Label the changed resistance, item or secondary weapon so the reason remains clear. Preparation becomes faster when the hunter edits a known foundation instead of rebuilding the pouch and equipment set from memory.
Finally, keep one learning objective per hunt. It might be recognizing a tail attack, landing a Focus Strike safely or using a new item without opening the full menu. Clear goals make success visible even when the quest takes longer than expected, and they turn preparation into a skill instead of a pre-mission ritual.
Practice note: Run the Monster Hunter Wilds first hunt guide checklist in a custom lobby or low-stakes match before using it in competition. Record one decision that worked and one that arrived late. Update only the relevant step after a patch instead of discarding the complete process.
Editorial note
Facts and mechanics were checked against the linked primary sources before publication.
This article was reviewed on August 6, 2026.

Related stories
Path of Exile 2 Sorceress leveling guide for 0.5.4e
Path of Exile 2 Sorceress leveling is smoother when the character solves one damage loop before collecting every elemental skill. Patch 0.5.4e is the referenc.
Minecraft mace combat guide for Java 1.21.9
Minecraft mace combat turns vertical movement into damage. Java Edition 1.21.9 is the reference version. A smash attack requires striking while falling far.
Dota 2 Watcher control guide for patch 7.41e
Dota 2 Watcher control is useful when it protects the next movement, not when a support activates every structure on cooldown. Patch 7.41e is the reference.
Community channel
Join the discussion
Start a thoughtful, specific conversation about this story.
Verified readers only
Continue with Google to comment.
Your Google account creates a reader-only Kaizensclan profile. Your first comment is reviewed before publication.