VALORANT Split retake guide for Patch 13.02
This VALORANT Split retake guide covers regroup routes, heaven control, utility order, spike pressure and trade spacing for both sites in Patch 13.02.


Updated for VALORANT Patch 13.02 Retake pool.
This VALORANT Split retake guide is for teams using the expanded Retake pool in Patch 13.02. The goal is to stop entering one at a time, clear vertical positions in a shared order and spend utility while teammates are close enough to trade.
Step 1: count players and useful utility
Before moving, name the player advantage, the spike location and the utility that can force an angle. A smoke, flash or recon tool has value only if someone can act during its window.
If the retake is two against four with no utility and a weak economy, saving may protect the next full round. Retake mode is practice; a live match still requires an economy decision.
Step 2: regroup outside the choke
A defender arriving through heaven should not start the fight while teammates are still rotating through spawn. Hold a protected angle, announce contact and choose a countdown.
The first player creates attention, the second trades and the third clears the angle the first two cannot watch.
Step 3: clear A heaven and site as one problem
On A, attackers can divide sightlines between ramps, heaven, screens and site cover. Use smoke or recon to remove one vertical layer before entering.
Do not drop from heaven without confirming who controls screens and elbow. The fall commits movement and can break trade distance.
Step 4: use B heaven pressure without feeding it
B heaven offers information and a route onto site, but attackers expect the doorway. Pair a flash or displacement tool with pressure from CT or alley.
If heaven is smoked, decide whether to wait, push through with support or use another route. Standing inside the smoke until the spike becomes safe wastes the retake.
Step 5: force the first defender off the spike line
Molotovs, stuns, grenades and recon should clear the strongest post-plant position, not decorate the site. Name the target area before casting.
A displaced attacker must move into a held angle. If nobody watches the exit, the utility only delays both teams.
Step 6: tap with a protection plan
The first spike tap should force a response and create information. Decide who taps, who holds the swing and which utility protects the defuser.
Half-sticking can be correct, but only when the remaining player has covered the known threat. Two players staring at the spike invite the same swing.
Step 7: review spacing after each attempt
Retake mode makes repetition useful. After a round, ask where the first untraded death occurred and whether the final utility arrived before or after contact.
Change the countdown or entry order first. Replacing the whole composition avoids learning the positioning error.
Communication protocol
Reduce the complete plan to three calls the team can use during a real Valorant match: the immediate objective, the first timing and the abort condition. Long explanations belong before the queue or during review. In play, every sentence should change positioning, resource use or target priority.
When information changes, name the fact before the response. “Two players seen,” “key cooldown used,” or “route blocked” gives teammates evidence; “this feels bad” does not. The caller can then keep the plan, delay it or switch without forcing five private guesses.
Common failure patterns
The most frequent error is correct individual execution at different times. One player begins while support is moving, another spends the final resource after contact and a third follows the original call after the abort. Review synchronization before replacing mechanics.
The second error is treating one success as proof that every condition was correct. Opponents may miss a punish or choose another side of the map. Save the replay and ask which information made the plan safe enough, not only whether the scoreboard awarded the result.
Quick checklist
- State the objective and first timing.
- Confirm required players and resources.
- Name the opponent’s most likely interruption.
- Keep one clear abort condition.
- Assign the next action after success.
Practice and review
Run the plan in a custom lobby or low-stakes match before using it in competition. Record one successful attempt and one failure, then change only the step supported by evidence. A repeatable guide is useful because the team can identify where execution broke instead of inventing a new system after every loss.
Confirm the live client against the official update source before relying on exact mechanics. Patches can change timings, costs and map geometry without changing the decision process described here.
Build a reliable baseline
Keep the review specific: note the clock, the unavailable resource and the teammate who could not participate. Repeat the same setup three times before judging it. Consistency exposes whether the problem comes from the plan itself or from execution, and gives the team a stable baseline for the next practical team adjustment.
Use our Haven retake guide for another map and our Patch 13.02 report for the mode update.
Editorial note
Facts and mechanics were checked against the linked primary sources before publication.
This article was reviewed on August 7, 2026.

Related stories
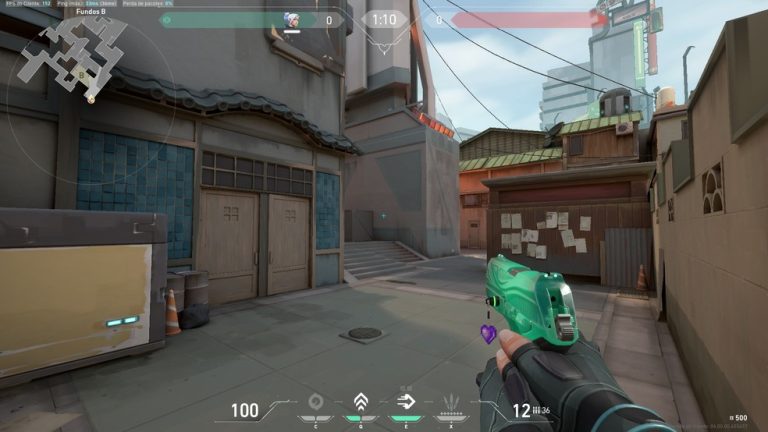
VALORANT Split B execute guide for patch 13.02
A Split B execute works when B Main and mid pressure arrive together. Patch 13.02 is the reference version. Clear close angles, deny Heaven vision and reserve.
VALORANT Bind A execute guide for patch 13.02
A reliable Bind A execute creates two simultaneous problems instead of sending five players through A Short. Control either Showers or the Short cubbies, cut.

VALORANT Lotus A execute guide for patch 13.02
A consistent Lotus A execute begins before the barrier drops. The attacking team needs a Rubble plan, utility for A Main and Tree, a plant location that.
Community channel
Join the discussion
Start a thoughtful, specific conversation about this story.
Verified readers only
Continue with Google to comment.
Your Google account creates a reader-only Kaizensclan profile. Your first comment is reviewed before publication.