CS2 Nuke outside control: a repeatable T-side system
This CS2 Nuke outside control guide builds a repeatable T-side system for crossing secret, pressuring yard, preserving utility and punishing rotations.

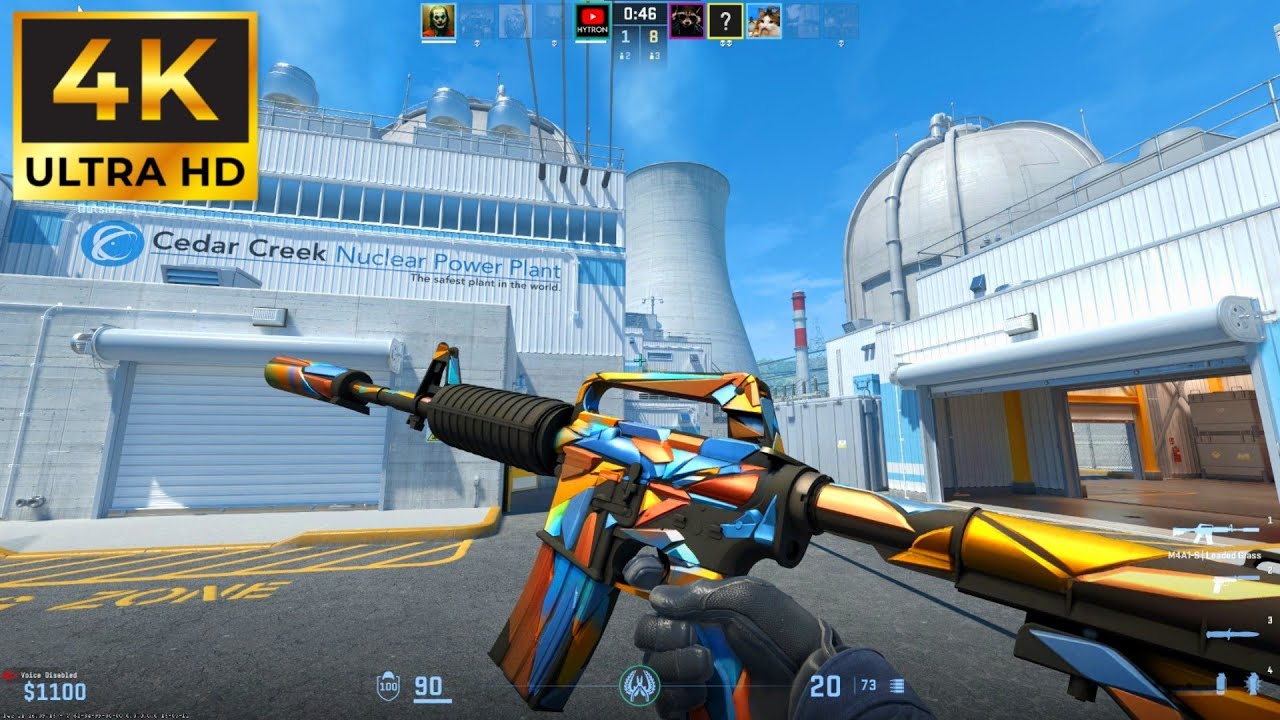
Updated for CS2 Premier Season 5. This guide is for five-player teams that want outside pressure without turning every Nuke round into a memorised all-in. The goal is to cross safely, preserve uncertainty and reach a mid-round with several credible destinations.
CS2 Nuke outside control: the plan
Build the round around three jobs: utility creates the sightline break, a pathfinder checks close resistance and a lobby pair protects the route back inside. Outside control is valuable only when it changes defender positions; reaching Secret with no information and no fallback is not success.
This guide is a repeatable decision framework, not a promise that every opponent will react the same way. Run it first in a low-stakes environment, record where it breaks, and change one variable at a time.
Step-by-step execution
- Step 1: Name the intended outside outcome before the freeze time ends: Secret cross, yard fight, vent pressure or rotation bait.
- Step 2: Keep one player responsible for lobby aggression so the outside group cannot be cut off by a simple push.
- Step 3: Use the agreed smoke wall and check for gaps from the actual crossing height rather than trusting a lineup label.
- Step 4: Flash or clear close Red and Garage threats before the bomb carrier commits to open ground.
- Step 5: Send the pathfinder first with enough spacing for a trade, not so far ahead that the smoke becomes a wall between teammates.
- Step 6: Once Secret control is established, stop making noise long enough to read lower rotations and outside re-peeks.
- Step 7: Keep one player above ground to threaten Mini, Heaven or a return to A; five players underground reveal the ending.
- Step 8: Spend late utility on the final doorway and plant, not on parts of outside already controlled.
- Step 9: If a smoke fails or an early defender gains two sightlines, cancel through lobby rather than feeding the same angle.
- Step 10: Review the first untraded contact after each round and adjust spacing before adding another grenade.
Assign one player or one clear cue to each transition. A plan often fails because two correct actions happen at different times. Short, specific communication keeps information useful without filling the channel with narration.
Common mistakes
The common failure is treating the smoke wall as invulnerability. Defenders can push through, spam known crossing lines or use elevated views against gaps. Teams also abandon lobby too early, carry the bomb first through Secret and continue a broken cross after the utility timing has separated.
Do not repair every mistake by adding complexity. First identify whether the failure came from information, timing, spacing, resources or execution. The smallest correction is easier to remember and test on the next attempt.
How to practise the routine
Begin without opposition and confirm movement, ranges and timing. Add one realistic source of pressure only after the sequence is consistent. Finally, practise an interrupted version so the group knows when to continue, pause or cancel.
- Record the first moment the plan became uncertain.
- Check whether the required resource was available.
- Review spacing before blaming individual mechanics.
- Keep successful parts when changing the failed step.
Use objective evidence where possible: a replay, demo or saved clip is more reliable than memory after a tense round. Review the decision before the outcome, because a poor choice can succeed and a sound choice can still lose.
Communication and role ownership
Every required job needs one owner and one backup condition. Name the information that triggers the action instead of asking a teammate to guess from tone. When several players can solve the same problem, decide whose resource is cheapest before the match reaches that moment.
Adaptation checklist
Against passive outside defence, leave presence and convert the saved utility into an inner hit. Against repeated aggression, shorten the route and set a trade trap around Red or T Roof. If the opponent stacks lower early, hold the rotation and finish through Mini or A when the map opens.
If an update changes geometry, economy, cooldowns or damage, retest the affected step rather than assuming the entire guide is obsolete. The version label at the top is the boundary of this advice.
Final routine
The final routine is smoke, clear, cross, pause and choose. The pause is essential: it turns outside movement into map control instead of a tunnel leading automatically to B.
Keep one learning goal per session. A narrow objective makes improvement visible and prevents a long checklist from competing with the match itself.
Source: official information and published records.
Continue with our practical guides and browse more reporting in the Kaizensclan archive.
Review after the match
Repeat the complete sequence until every player can state the next decision and its cancellation condition without prompting. After each attempt, record one timing, resource or positioning error and correct that single point first. Retest the routine whenever the relevant game version changes, because a small geometry or economy adjustment can alter an otherwise sound plan.
Editorial note
Facts and mechanics were checked against the linked primary sources before publication.
This article was reviewed on August 7, 2026.

Related stories
CS2 Nuke B-site defense guide for Premier Season 5
Build a reliable CS2 Nuke B-site defense for Premier Season 5 with ramp control, utility timing, vent information and clear rotation rules. Read our verified.
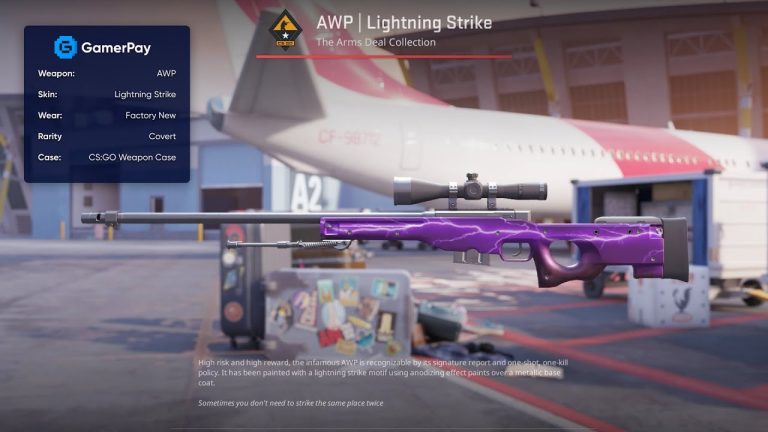
AWP Lightning Strike: one image, immediate focus
AWP Lightning Strike is one of Counter-Strike’s original Arms Deal finishes, released in August 2013. A white lightning bolt cuts across a purple body, using.
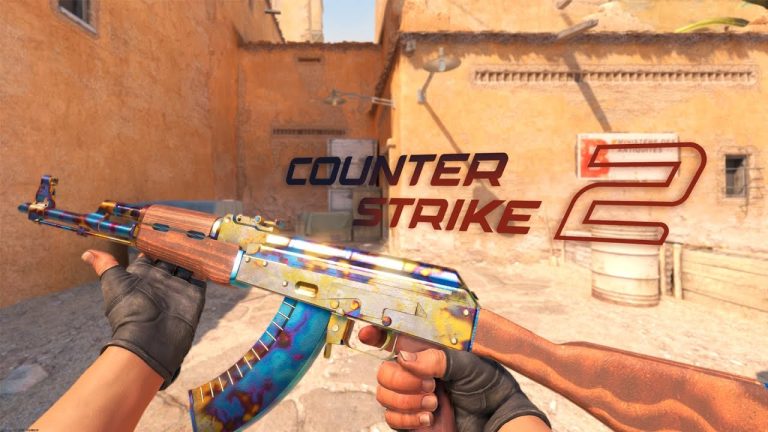
AK-47 Case Hardened: pattern as the whole design
AK-47 Case Hardened entered Counter-Strike with the Arms Deal update in August 2013. Its finish applies the irregular colors of case-hardening to the rifle,.
Community channel
Join the discussion
Start a thoughtful, specific conversation about this story.
Verified readers only
Continue with Google to comment.
Your Google account creates a reader-only Kaizensclan profile. Your first comment is reviewed before publication.