Minecraft Copper Golem sorting guide for Java 1.21.9
Java Edition 1.21.9 adds the Copper Golem as a simple sorting assistant. Build it by placing a carved pumpkin or jack o’lantern on a copper block. The new.

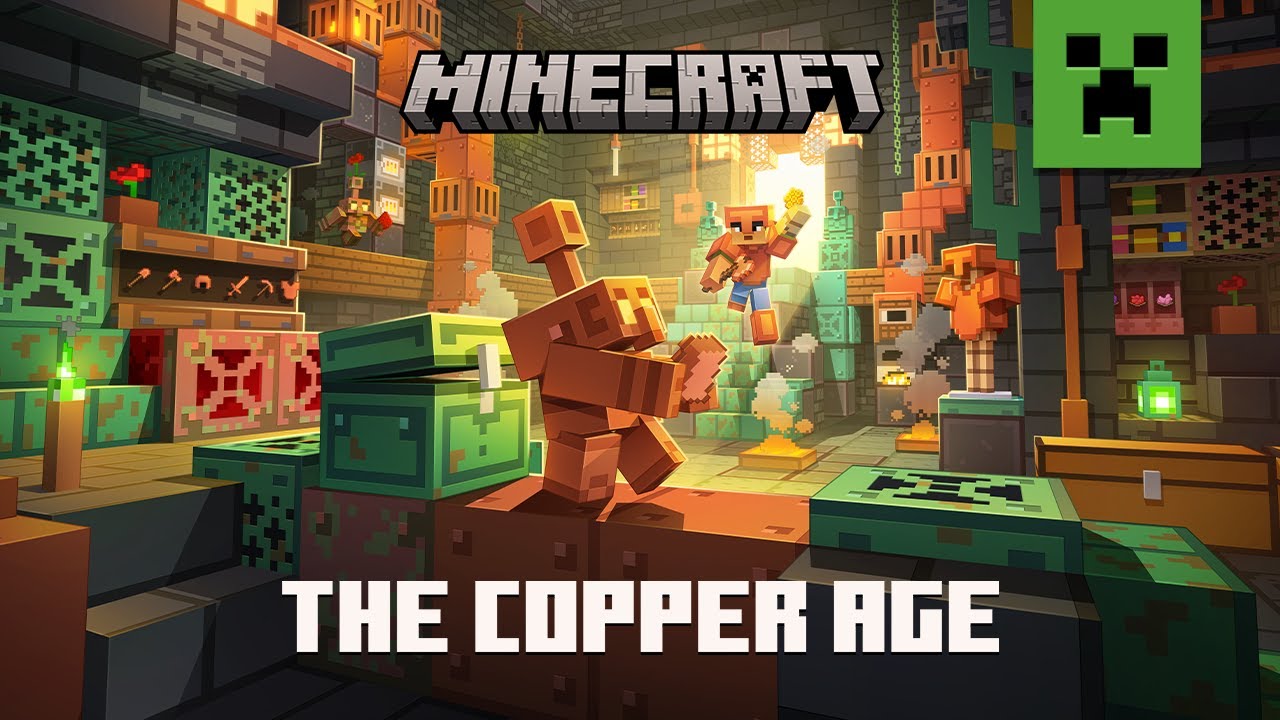
Updated for Minecraft Java Edition 1.21.9. Java Edition 1.21.9 adds the Copper Golem as a simple sorting assistant. Build it by placing a carved pumpkin or jack o’lantern on a copper block. The new golem spawns with a copper chest, takes stacks from copper chests and looks for regular or trapped chests that can accept them.
Minecraft Copper Golem sorting: the core plan
Use copper chests as input and ordinary chests as destinations. Seed each destination with the item types it should receive, keep the storage within the golem’s search area and leave room in the matching stacks. The system is best for low-pressure organization, not a replacement for exact hopper timing.
This is a repeatable decision framework, not a promise that every opponent or server will react identically. Test it in a low-stakes environment, record where it breaks and change one variable at a time.
Step-by-step execution
- Step 1: Choose a compact storage room with destination chests inside the golem’s search range: up to 32 blocks horizontally and eight blocks vertically. Avoid scattering inputs across several floors.
- Step 2: Place regular or trapped chests for categories such as stone, wood, food and mob drops. Put at least one example item in the chest so the golem can find a matching destination.
- Step 3: Place one or more copper chests as unsorted input. Their oxidation state can vary; the functional distinction is that the golem removes items from copper chests and delivers them to non-copper storage.
- Step 4: Create the Copper Golem by placing a carved pumpkin or jack o’lantern on a copper block. Confirm that both the golem and its copper chest appear with enough space to move.
- Step 5: Deposit a small mixed test batch. The golem can carry up to 16 items in a stack, so begin with recognizable quantities and watch which destination it selects.
- Step 6: Keep paths open and avoid too many candidate chests. The golem visits a limited number while searching, so compact labelled groups are more dependable than a warehouse full of empty containers.
- Step 7: Leave available room in the seeded stack. A chest that contains the right item but cannot accept more forces another search and can leave the golem waiting.
- Step 8: Wax the golem if you want to preserve its current appearance. Otherwise it oxidizes over time and can eventually become a statue; an axe can scrape oxidation back by one stage.
Assign one player or one clear cue to every transition. Plans often fail because two correct actions happen at different times. Short, specific communication keeps information useful without filling the channel with narration.
Common mistakes
Unseeded output chests are the main problem: the golem needs a matching item or an appropriate empty destination under its rules. Other errors include full stacks, blocked paths, storage outside the search range and assuming one golem provides industrial-speed throughput.
Do not repair every failure by adding complexity. First decide whether the cause was information, timing, spacing, resources or execution. The smallest correction is easiest to remember and test on the next attempt.
Practice routine
Test with four item types and one stack each before decorating the room. Count how long a complete cycle takes and observe missed destinations. Expand one chest group at a time so the cause of a failure remains visible.
- Record the first moment the plan became uncertain.
- Check whether the required resource was available.
- Review spacing before blaming mechanics.
- Keep successful parts when changing the failed step.
A replay or saved clip is more reliable than memory after a tense attempt. Review the decision before the outcome: a poor choice can succeed, and a sound one can still lose. Repeat the same setup until timing is stable before adding a harder variation.
Communication and role ownership
On a shared server, label copper chests as input and explain that regular chests define outputs. Assign one player to add new categories, preventing several people from creating competing destination chests in different rooms.
Adaptation checklist
Use more than one golem for larger casual intake, but separate storage zones to reduce wandering. Keep hoppers for farms requiring exact throughput. If oxidation is unwanted, wax the golem early; if statues are decorative goals, leave selected golems exposed.
If an update changes geometry, economy, cooldowns or damage, retest the affected step rather than assuming the whole guide is obsolete. The version label above defines the boundary of this advice.
Final routine
Keep inputs copper, outputs seeded and the room compact. The Copper Golem excels when the storage rule is visible and forgiving, not when every item must move on a precise redstone clock.
Keep one learning goal per session. A narrow objective makes improvement visible and prevents a long checklist from competing with the match itself. Stop the drill once concentration falls, then return with the same measurable goal.
Sources: primary release notes or official records. Factual claims were checked against these records; interpretation is our own.
Continue with the Kaizensclan archive, our practical guides and the latest game reviews.
Editorial note
Facts and mechanics were checked against the linked primary sources before publication.
This article was reviewed on August 10, 2026.

Related stories

Minecraft mace combat guide for Java 1.21.9
Minecraft mace combat turns vertical movement into damage. Java Edition 1.21.9 is the reference version. A smash attack requires striking while falling far.

Minecraft Trial Chambers guide for Java 1.21.9
This Minecraft Trial Chambers guide is updated for Java Edition 1.21.9. The structures are combat dungeons made from copper and tuff, with Trial Spawners,.

Minecraft Tricky Trials opens the Trial Chambers
Mojang released Minecraft Tricky Trials on June 13, 2024 for Java and Bedrock editions. The 1.21 update centres on Trial Chambers, underground structures buil.
Community channel
Join the discussion
Start a thoughtful, specific conversation about this story.
Verified readers only
Continue with Google to comment.
Your Google account creates a reader-only Kaizensclan profile. Your first comment is reviewed before publication.