Wild Rift Yunara ADC guide for patch 7.2
Learn Yunara ADC fundamentals in Wild Rift patch 7.2: lane spacing, crit scaling, Transcendence timing, target choice and teamfight positioning. Read the.

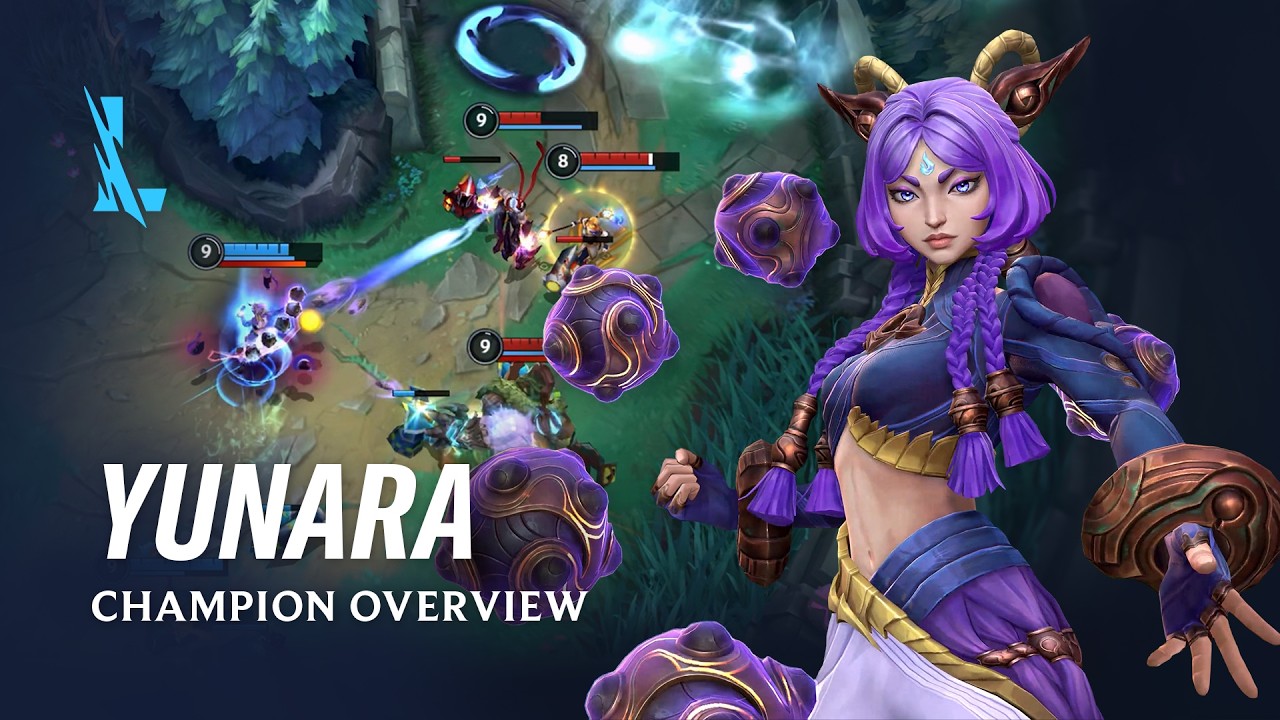
Updated for Wild Rift patch 7.2. Yunara joined Wild Rift in patch 7.2 as a marksman built around sustained attacks and a transformative ultimate. Her strongest fight is not the first one offered; it is the one entered with safe spacing, prepared resources and a target she can keep hitting.
Wild Rift Yunara ADC guide: the core plan
Farm toward critical-strike and attack-speed power while protecting health for objective windows. Use lane tools to secure minions and punish predictable movement, then reserve Transcendence for a fight that lasts long enough to exploit the enhanced kit. Position around the nearest safe target instead of walking past a frontline for a highlight.
This is a repeatable decision framework, not a promise that every opponent or server will react identically. Test it in a low-stakes environment, record where it breaks and change one variable at a time.
Step-by-step execution
- Step 1: At level one, identify enemy engage range and stand where the support can answer a trade. Secure the first wave without spending health for one optional attack.
- Step 2: Track the opposing support’s key cooldown. Step forward for damage only when that threat is used, missed or blocked by the wave.
- Step 3: Keep the wave on a side that leaves room to retreat from jungle pressure. A larger farm total is worthless if an exposed shove gives away both champions.
- Step 4: Before dragon or Herald, recall early enough to buy and arrive with ultimate availability. Push the nearest safe wave rather than catching one that makes the team fight four-versus-five.
- Step 5: In a skirmish, attack the closest high-priority target you can hit safely. Move between attacks and preserve the escape route instead of crossing crowd control to reach a backliner.
- Step 6: Activate Transcendence when contact is real and several empowered actions are possible. Do not spend it only to threaten an enemy already outside range.
- Step 7: Pair with support crowd control by holding damage until the disable lands. If the support must peel, turn onto the diver rather than continuing an isolated chase.
- Step 8: After winning, convert immediately into tower, objective or safe vision. Yunara scales well, but an unnecessary chase can surrender the shutdown and neutral reward.
Assign one player or one clear cue to every transition. Plans often fail because two correct actions happen at different times. Short, specific communication keeps information useful without filling the channel with narration.
Common mistakes
The common errors are fighting through an intact engage cooldown, using the ultimate before enemies commit, chasing past the support and staying for one more wave before an objective. Marksman damage is a product of uptime; a perfect build contributes nothing while crowd-controlled or dead.
Do not repair every failure by adding complexity. First decide whether the cause was information, timing, spacing, resources or execution. The smallest correction is easiest to remember and test on the next attempt.
Practice routine
Spend ten minutes in practice mode moving between attacks at several attack speeds. Then rehearse ultimate activation at the edge of range and watch how long the empowered window remains useful. In normal games, review every death and mark the first unsafe step, not only the final hit.
- Record the first moment the plan became uncertain.
- Check whether the required resource was available.
- Review spacing before blaming mechanics.
- Keep successful parts when changing the failed step.
A replay or saved clip is more reliable than memory after a tense attempt. Review the decision before the outcome: a poor choice can succeed, and a sound one can still lose.
Communication and role ownership
Tell the support when the wave permits an aggressive trade and when the enemy’s engage tool returns. Before an objective, state whether Transcendence is ready. In a fight, short calls such as “peel first” or “front to back” align the team better than demanding access to the enemy carry.
Every required job needs one owner and one backup condition. Name the information that triggers action instead of asking a teammate to guess from tone. When several tools solve the same problem, spend the cheapest reliable resource first.
Adaptation checklist
Against hard engage, hold farther back and save mobility or defensive tools for the initiator. Against poke, prioritize clean recalls and avoid arriving at objectives on half health. If the team has no frontline, play around terrain and vision instead of copying a standard open-lane formation.
If an update changes geometry, economy, cooldowns or damage, retest the affected step rather than assuming the whole guide is obsolete. The version label above defines the boundary of this advice.
Final routine
Yunara rewards patience before commitment. Protect lane health, arrive early, trigger Transcendence only for real contact and build every team fight around uninterrupted attacks from a safe line.
Keep one learning goal per session. A narrow objective makes improvement visible and prevents a long checklist from competing with the match itself.
Sources: primary release information or official records. Dates, scores and named features were checked against the linked source; evaluative passages are our own.
Continue with the Kaizensclan archive and our practical gaming guides.
Editorial note
Facts and mechanics were checked against the linked primary sources before publication.
This article was reviewed on August 10, 2026.

Related stories
Wild Rift Ryze mid guide for patch 7.2
Play Ryze mid in Wild Rift patch 7.2 with safe mana scaling, Spell Flux wave control, Rune Prison setup and disciplined Realm Warp use. Read our verified.
Path of Exile 2 Sorceress leveling guide for 0.5.4e
Path of Exile 2 Sorceress leveling is smoother when the character solves one damage loop before collecting every elemental skill. Patch 0.5.4e is the referenc.
Minecraft mace combat guide for Java 1.21.9
Minecraft mace combat turns vertical movement into damage. Java Edition 1.21.9 is the reference version. A smash attack requires striking while falling far.
Community channel
Join the discussion
Start a thoughtful, specific conversation about this story.
Verified readers only
Continue with Google to comment.
Your Google account creates a reader-only Kaizensclan profile. Your first comment is reviewed before publication.