VALORANT Sunset B execute for coordinated teams
This VALORANT Sunset B execute guide coordinates B Main control, market pressure, utility timing, plant positions and post-plant roles for patch 13.02.

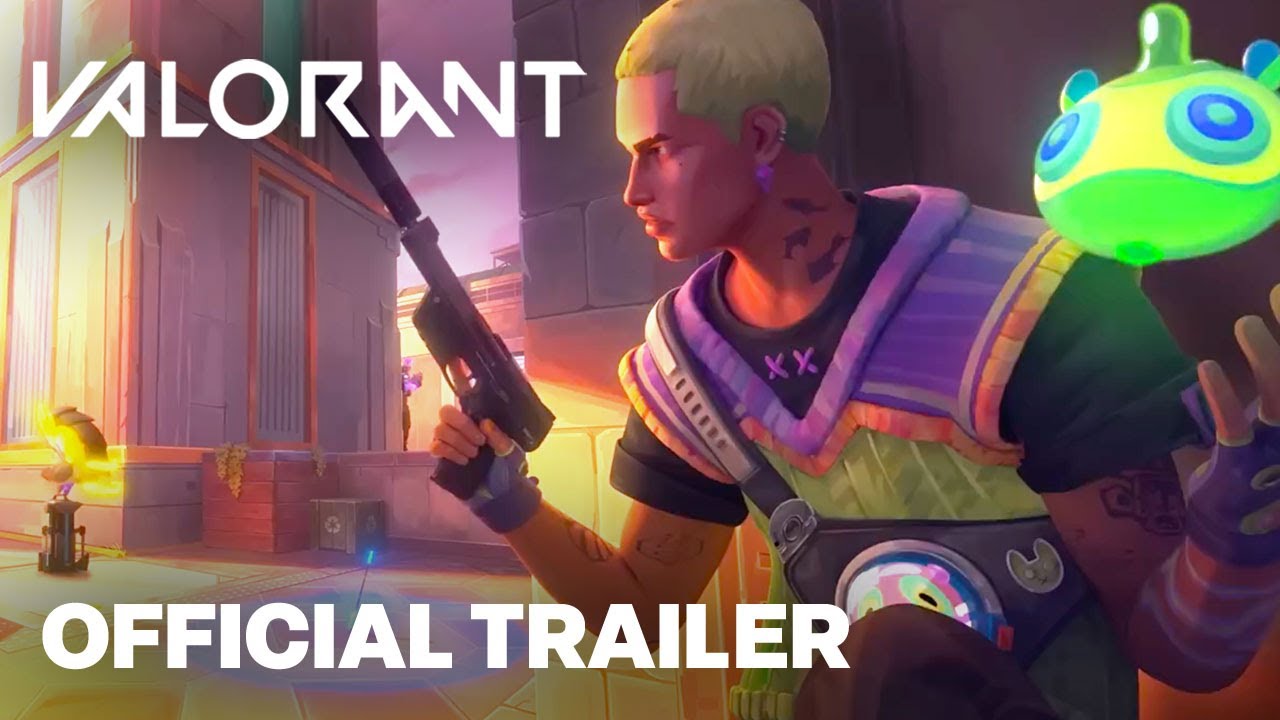
Updated for VALORANT patch 13.02. This execute is for a coordinated five-stack that can reach B Main with useful utility still available. It prioritises market and lane pressure before the plant, then assigns post-plant positions instead of asking every attacker to improvise after the Spike goes down.
VALORANT Sunset B execute: the plan
Use one piece of utility to clear the closest B Main contest, then split defender attention between the site entrance and Market. Smokes should remove long supportive angles, while recon, drone or flash utility identifies the first defender. The plant begins only when the team can trade the planter.
This guide is a repeatable decision framework, not a promise that every opponent will react the same way. Run it first in a low-stakes environment, record where it breaks, and change one variable at a time.
Step-by-step execution
- Step 1: Confirm the defenders’ economy and ultimates so the team knows whether to expect an Operator, aggressive utility or a retake ultimate.
- Step 2: Take B Main in a tradeable pair and clear the close corners before using the expensive site-clearing abilities.
- Step 3: Leave one player watching the route behind until mid and B Main information make a flank timing credible or impossible.
- Step 4: Place smokes on the supportive sightlines agreed in practice, checking that no edge gives a one-way view of the planter.
- Step 5: Send recon, drone or a flash just before the entry moves; utility that lands after the duel is decoration.
- Step 6: Have the entry clear the closest site threat while the second player aims at the trade rather than at a different distant angle.
- Step 7: Pressure Market or its connection at the same time so defenders cannot focus five crosshairs on B Main.
- Step 8: Plant for the post-plant positions the team actually controls, using cover only when the open plant cannot be protected.
- Step 9: Move immediately into assigned crossfires and preserve at least one delay tool for the defuse, not the first sound cue.
- Step 10: If Market control fails and the site remains stacked, call the cancellation before the Spike crosses the final chokepoint.
Assign one player or one clear cue to each transition. A plan often fails because two correct actions happen at different times. Short, specific communication keeps information useful without filling the channel with narration.
Common mistakes
Teams often throw all utility from B Main and then enter through one doorway. Other failures include smoking too early, planting while the entry is still fighting, leaving the flank unowned and placing the Spike for a line-up position that the team never reaches.
Do not repair every mistake by adding complexity. First identify whether the failure came from information, timing, spacing, resources or execution. The smallest correction is easier to remember and test on the next attempt.
How to practise the routine
Begin without opposition and confirm movement, ranges and timing. Add one realistic source of pressure only after the sequence is consistent. Finally, practise an interrupted version so the group knows when to continue, pause or cancel.
- Record the first moment the plan became uncertain.
- Check whether the required resource was available.
- Review spacing before blaming individual mechanics.
- Keep successful parts when changing the failed step.
Use objective evidence where possible: a replay, demo or saved clip is more reliable than memory after a tense round. Review the decision before the outcome, because a poor choice can succeed and a sound choice can still lose.
Communication and role ownership
Every required job needs one owner and one backup condition. Name the information that triggers the action instead of asking a teammate to guess from tone. When several players can solve the same problem, decide whose resource is cheapest before the match reaches that moment.
Adaptation checklist
If defenders repeatedly fight B Main, use earlier layered utility and hold the anti-flash spacing. If they give the lane, keep one reveal tool for site or retake. Against fast flanks, convert the watcher into an active trap instead of turning three attackers around after every footstep.
If an update changes geometry, economy, cooldowns or damage, retest the affected step rather than assuming the entire guide is obsolete. The version label at the top is the boundary of this advice.
Final routine
The repeatable call is lane, split, clear, plant and fan out. Every player should know the cancel condition: lost Market pressure, broken smoke coverage or an untradeable entry death.
Keep one learning goal per session. A narrow objective makes improvement visible and prevents a long checklist from competing with the match itself.
Source: official information and published records.
Continue with our practical guides and browse more reporting in the Kaizensclan archive.
Review after the match
Repeat the complete sequence until every player can state the next decision and its cancellation condition without prompting. After each attempt, record one timing, resource or positioning error and correct that single point first. Retest the routine whenever the relevant game version changes, because a small geometry or economy adjustment can alter an otherwise sound plan.
Editorial note
Facts and mechanics were checked against the linked primary sources before publication.
This article was reviewed on August 7, 2026.

Related stories
VALORANT Bind A execute guide for patch 13.02
A reliable Bind A execute creates two simultaneous problems instead of sending five players through A Short. Control either Showers or the Short cubbies, cut.

VALORANT Lotus A execute guide for patch 13.02
A consistent Lotus A execute begins before the barrier drops. The attacking team needs a Rubble plan, utility for A Main and Tree, a plant location that.
VALORANT Haven C-site execute guide for patch 13.02
A Haven C execute succeeds when Garage, C Long and the defender rotation are handled as one timing. Patch 13.02 did not redesign Haven, so the plan remains.
Community channel
Join the discussion
Start a thoughtful, specific conversation about this story.
Verified readers only
Continue with Google to comment.
Your Google account creates a reader-only Kaizensclan profile. Your first comment is reviewed before publication.