CS2 Anubis CT setup: control canals without overrotating
A CS2 Anubis CT setup needs information from mid and canals without abandoning B at the first sound cue. Start with two defenders near B, one controlling mid.

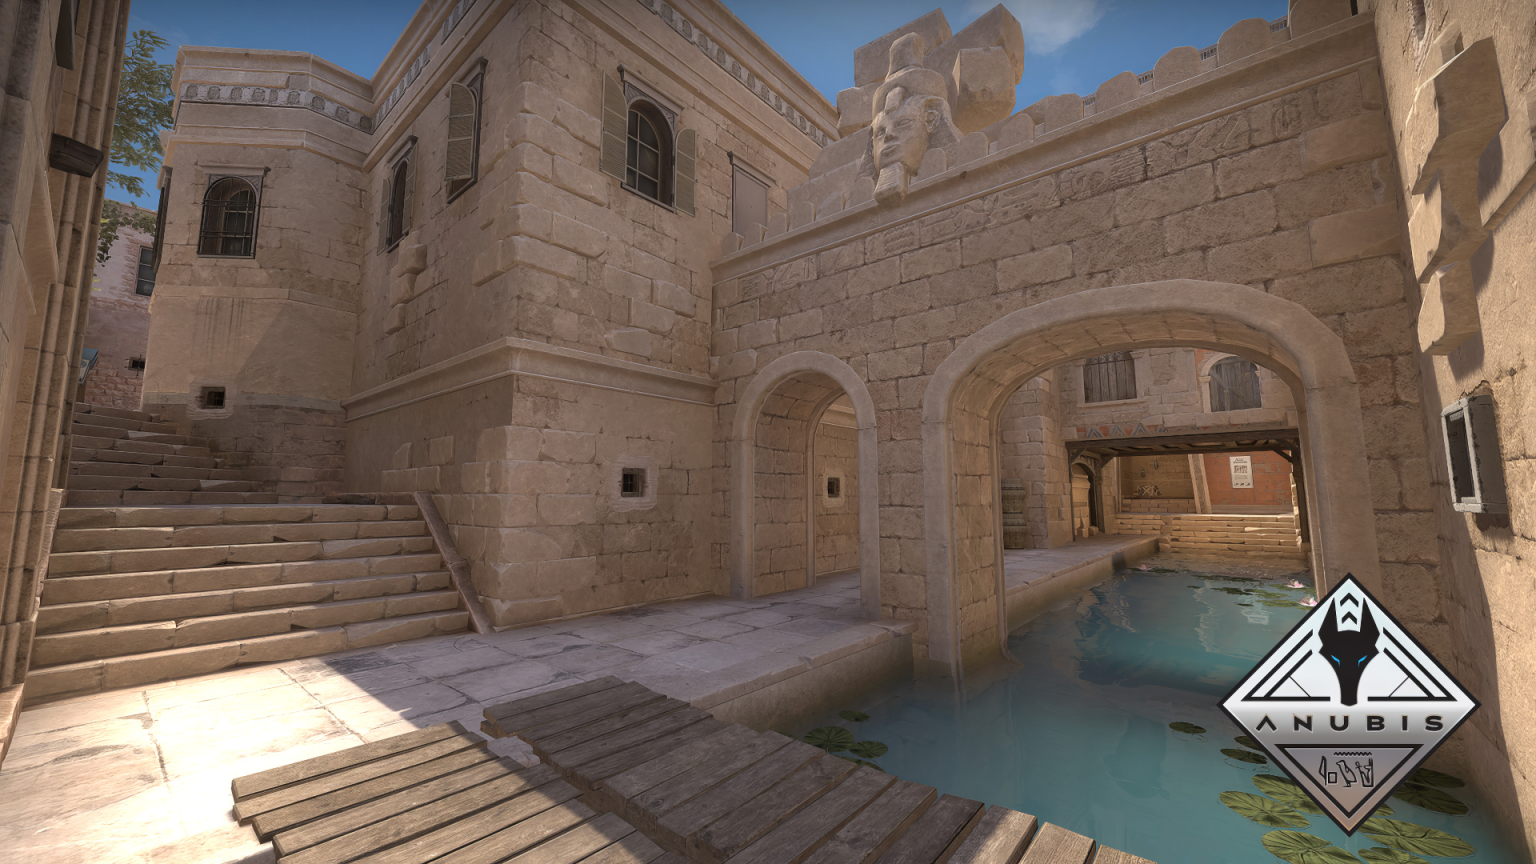
Updated for the Counter-Strike 2 build current on August 11, 2026. A CS2 Anubis CT setup needs information from mid and canals without abandoning B at the first sound cue. Start with two defenders near B, one controlling mid and two around A, then rotate from confirmed space rather than footsteps heard through stone.
CS2 Anubis CT setup: the core plan
The mid player owns the first reliable rotation call. A connector defender can support either site, but the B anchor should preserve utility and a safe retreat. At A, one player takes the early duel only with a flash or trade partner. The setup succeeds when attackers must clear several independent angles instead of one stacked choke.
This is a repeatable decision framework, not a promise that every opponent or server will react identically. Test it in a low-stakes environment, record where it breaks and change one variable at a time.
Step-by-step execution
- Step 1: Spawn into assigned lanes and name the opening utility. The B pair decides who contests canals and who anchors site; duplicating the same grenade wastes the strongest early delay.
- Step 2: Use a safe mid smoke, molotov or flash to establish whether attackers are pressuring bridge and connector. Do not repeat the same exposed peek after losing the opening duel.
- Step 3: At canals, take information from a position that can retreat. If attackers spend multiple flashes, call the count and yield space before both B defenders are trapped.
- Step 4: Keep one A defender near a rotation route while the other watches main. A silent A map does not justify leaving the site until mid or canals confirms the attack.
- Step 5: On a confirmed B hit, rotate the closest support first and preserve the distant A player for a late flank or bomb check. State which utility still covers the plant.
- Step 6: In the retake, clear close site together, isolate dark and pillar with utility, then touch the bomb only after assigning the first post-plant duel.
Assign one player or one clear cue to every transition. Plans often fail because two correct actions happen at different times. Short, specific communication keeps information useful without filling the channel with narration.
Common mistakes
CT teams often send three players toward canals after one sound, allowing a quiet A split. Another failure is contesting mid and water with no retreat grenade, turning information into an isolated death. On B, both defenders may fight from adjacent positions and become vulnerable to the same flash. Overrotating before the bomb is seen is the central error.
Do not repair every failure by adding complexity. First decide whether the cause was information, timing, spacing, resources or execution. The smallest correction is easiest to remember and test on the next attempt.
Practice routine
Load Anubis with a five-player group and rehearse the first twenty seconds from several spawns. Record grenade arrival times at bridge, canals and A main. Add attackers who alternate a fast B hit, a silent A split and a mid fake. Defenders score the drill by surviving with accurate information, not by forcing an opening kill.
- Record the first moment the plan became uncertain.
- Check whether the required resource was available.
- Review spacing before blaming mechanics.
- Keep successful parts when changing the failed step.
A replay or saved clip is more reliable than memory after a tense attempt. Review the decision before the outcome: a poor choice can succeed, and a sound one can still lose. Repeat the same setup until timing is stable before adding a harder variation.
Communication and role ownership
Name location, number seen, bomb status and utility spent. “Three canals, bomb not seen, two flashes” supports a decision; “all B” after one footstep does not. The mid defender calls when connector is unsafe. Site anchors announce whether they can delay, need a flash or are already committed to a retake.
Adaptation checklist
Against repeated B rushes, add early delay but keep the mid player capable of spotting the split. If attackers default slowly, preserve grenades and use paired information peeks later in the round. Against strong A pressure, shift the connector support without removing the B anchor. After a lost gun round, change one opening duel rather than rebuilding every role.
If an update changes geometry, economy, cooldowns or damage, retest the affected step rather than assuming the whole guide is obsolete. The version label above defines the boundary of this advice.
Final routine
Review the first rotation, not only the final kill. Check what evidence moved each defender, whether anchors had a retreat path and whether remaining utility covered the plant. Keep a round if the structure produced a fair retake even when aim lost it; change the setup when one sound cue repeatedly empties the opposite site.
Keep one learning goal per session. A narrow objective makes improvement visible and prevents a long checklist from competing with the match itself. Stop the drill once concentration falls, then return with the same measurable goal.
Sources: primary release notes or official records. Factual claims were checked against these records; interpretation is our own.
Continue with the Kaizensclan archive, our practical guides and the latest game reviews.
Editorial note
Facts and mechanics were checked against the linked primary sources before publication.
This article was reviewed on August 11, 2026.

Related stories
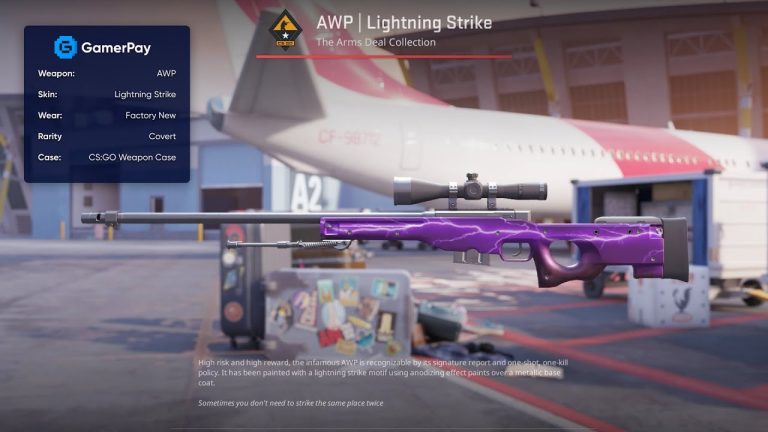
AWP Lightning Strike: one image, immediate focus
AWP Lightning Strike is one of Counter-Strike’s original Arms Deal finishes, released in August 2013. A white lightning bolt cuts across a purple body, using.
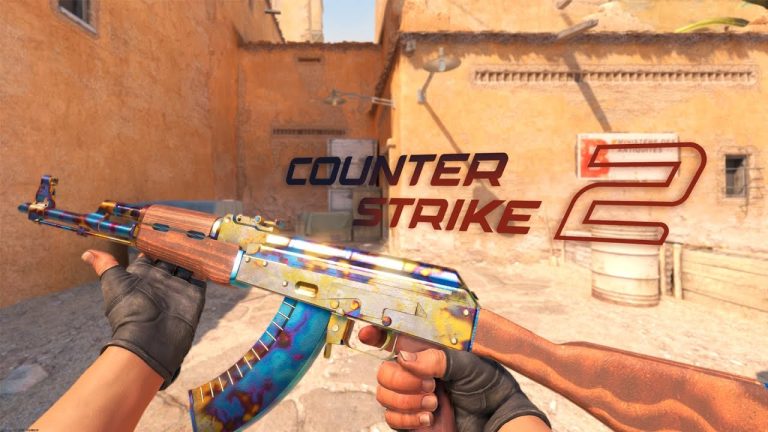
AK-47 Case Hardened: pattern as the whole design
AK-47 Case Hardened entered Counter-Strike with the Arms Deal update in August 2013. Its finish applies the irregular colors of case-hardening to the rifle,.
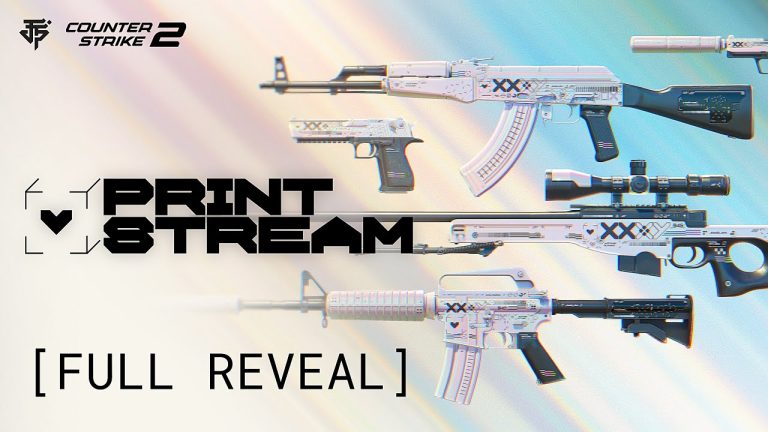
CS2 Printstream family: monochrome design rebuilt
The CS2 Printstream family began as workshop designs by JTPNZ and entered Counter-Strike through individual finishes including the Desert Eagle, M4A1-S and.
Community channel
Join the discussion
Start a thoughtful, specific conversation about this story.
Verified readers only
Continue with Google to comment.
Your Google account creates a reader-only Kaizensclan profile. Your first comment is reviewed before publication.