VALORANT Split B execute guide for patch 13.02
A Split B execute works when B Main and mid pressure arrive together. Patch 13.02 is the reference version. Clear close angles, deny Heaven vision and reserve.

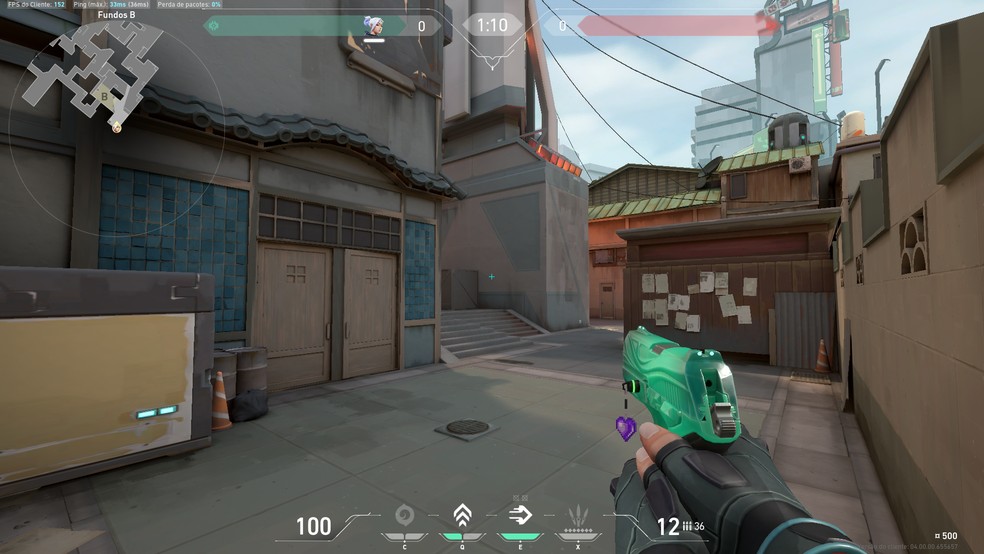
Updated for VALORANT patch 13.02. A Split B execute works when B Main and mid pressure arrive together. Patch 13.02 is the reference version. Clear close angles, deny Heaven vision and reserve one piece of utility for the plant or first retake contact instead of spending every ability at the barrier.
Split B execute: the core plan
Assign two players to establish mid, two to B Main and one flexible carrier or lurk. The mid pair must decide whether it can reach Mail and Heaven; a stalled mid push should trigger a clear regroup call. Main players hold their entry utility until Heaven control or the fallback smoke is confirmed.
This is a repeatable decision framework, not a promise that every opponent or server will react identically. Test it in a low-stakes environment, record where it breaks and change one variable at a time.
Step-by-step execution
- Step 1: Take B Main orb space carefully and clear the close right, box and deep lane in order. The second player stays close enough to trade without standing inside the same damaging utility.
- Step 2: Pressure mid with a smoke or vision denial toward vents and utility for Mail. Do not walk into Heaven while the Main pair waits silently; announce each gained step.
- Step 3: Smoke or wall the defender sightline that blocks entry and use a flash, drone or reveal for site. State when the cover lands and how long it remains useful.
- Step 4: Enter from Main as the mid pair threatens Heaven. The first player clears close site and default; the second protects the trade and watches the swing from back site.
- Step 5: Plant for the space actually controlled. If Heaven is lost, use safer cover and keep a player nearby; an open plant is useful only when surviving lanes can defend it.
- Step 6: Form a crossfire before the first tap. Keep one damage, smoke or information ability for the defuse and assign who contacts first.
Assign one player or one clear cue to every transition. Plans often fail because two correct actions happen at different times. Short, specific communication keeps information useful without filling the channel with narration.
Common mistakes
The most common Split B execute sends five players through Main into stacked slowing utility. Another begins a mid fight but never tells Main that Heaven control failed. Teams also place an exposed plant for a lineup after losing every angle that protects it. Utility thrown too early becomes a countdown defenders can simply outwait.
Do not repair every failure by adding complexity. First decide whether the cause was information, timing, spacing, resources or execution. The smallest correction is easiest to remember and test on the next attempt.
Practice routine
In a custom lobby, time movement from both barriers to the first site contact. Repeat the Heaven cover and site-clear utility until their cues align. Add one defender at close site, then back site and Heaven. Finish with retake drills where defenders vary between an immediate tap, a Heaven swing and a patient flank.
- Record the first moment the plan became uncertain.
- Check whether the required resource was available.
- Review spacing before blaming mechanics.
- Keep successful parts when changing the failed step.
A replay or saved clip is more reliable than memory after a tense attempt. Review the decision before the outcome: a poor choice can succeed, and a sound one can still lose. Repeat the same setup until timing is stable before adding a harder variation.
Communication and role ownership
The mid leader owns the go or regroup call, the controller confirms Heaven cover, and the spike carrier names the plant. Main reports defensive utility and whether close site is clear. After planting, communicate the first contact lane and remaining cooldowns. A precise “Heaven smoke fades in five” is better than repeated location noise.
Adaptation checklist
If defenders fight mid with several abilities, hold the pressure and accelerate Main only after confirming site is weaker. Against repeated B Main aggression, set a trade trap before showing the execute. If a sentinel setup blocks entry, clear the utility before separating the pair. When Heaven remains defended, abandon the split rather than feeding players one by one.
If an update changes geometry, economy, cooldowns or damage, retest the affected step rather than assuming the whole guide is obsolete. The version label above defines the boundary of this advice.
Final routine
Judge the execute by synchronization. Confirm whether mid created a real turn, whether Main entered under cover and whether the plant matched surviving control. Review the earliest disconnected contact. Fix its cue before adding another lineup, because a simpler hit with shared timing is stronger than five perfect abilities used alone.
Keep one learning goal per session. A narrow objective makes improvement visible and prevents a long checklist from competing with the match itself. Stop the drill once concentration falls, then return with the same measurable goal.
Sources: primary release notes or official records. Factual claims were checked against these records; interpretation is our own.
Continue with the Kaizensclan archive, our practical guides and the latest game reviews.
Editorial note
Facts and mechanics were checked against the linked primary sources before publication.
This article was reviewed on August 11, 2026.

Related stories
VALORANT Bind A execute guide for patch 13.02
A reliable Bind A execute creates two simultaneous problems instead of sending five players through A Short. Control either Showers or the Short cubbies, cut.

VALORANT Lotus A execute guide for patch 13.02
A consistent Lotus A execute begins before the barrier drops. The attacking team needs a Rubble plan, utility for A Main and Tree, a plant location that.
VALORANT Haven C-site execute guide for patch 13.02
A Haven C execute succeeds when Garage, C Long and the defender rotation are handled as one timing. Patch 13.02 did not redesign Haven, so the plan remains.
Community channel
Join the discussion
Start a thoughtful, specific conversation about this story.
Verified readers only
Continue with Google to comment.
Your Google account creates a reader-only Kaizensclan profile. Your first comment is reviewed before publication.