VALORANT Phoenix entry guide for patch 13.02
Use Phoenix as a disciplined first contact in VALORANT patch 13.02 with flash spacing, wall paths, healing rules and a seven-point ultimate plan. Read the.

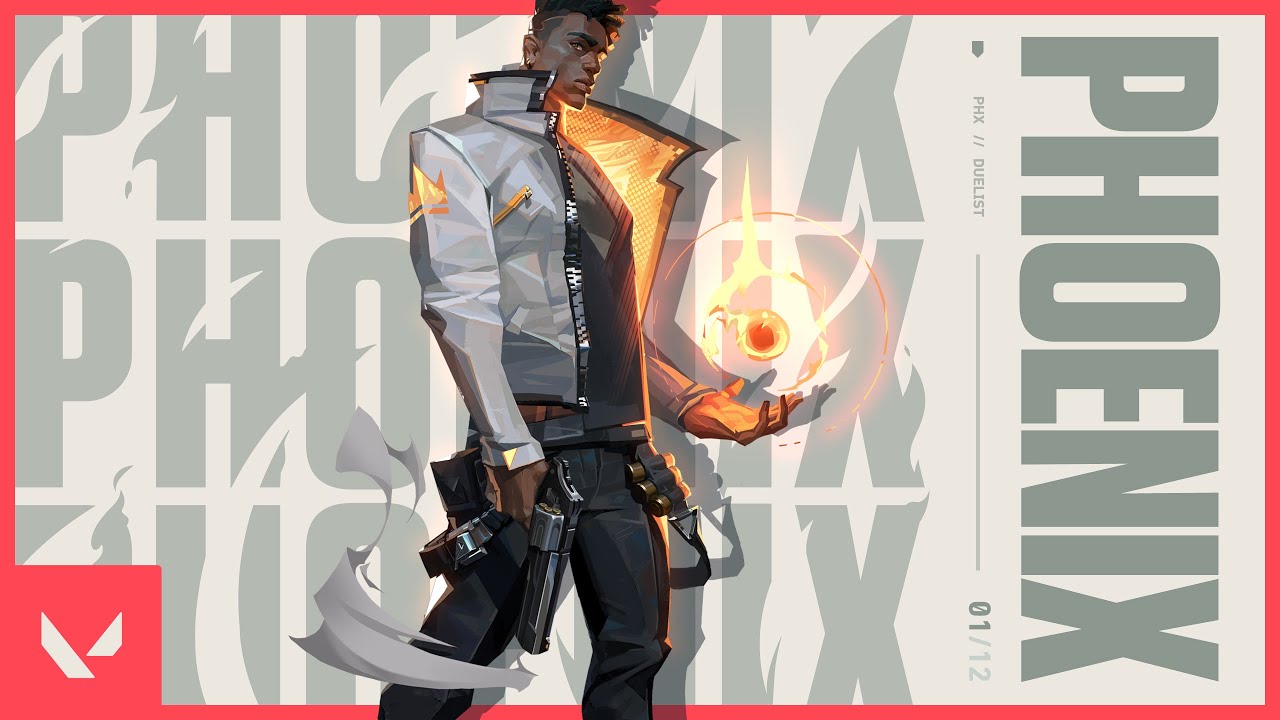
Updated for VALORANT patch 13.02. Patch 13.02 increased Run It Back’s cost from six ultimate points to seven. Phoenix still creates independent entry windows, but teams should plan the ultimate around orb routes and round value instead of expecting it one round earlier.
VALORANT Phoenix entry guide: the core plan
Phoenix enters by isolating one sightline with Blaze, flashing the next contact and allowing a teammate to trade the first duel. Curveball is strongest when it bursts just outside the opponent’s view. Hot Hands is damage, space control and limited self-healing, so its purpose must be chosen before it is thrown.
This is a repeatable decision framework, not a promise that every opponent or server will react identically. Test it in a low-stakes environment, record where it breaks and change one variable at a time.
Step-by-step execution
- Step 1: Before the barrier drops, name the first corner, the wall path and the teammate who will follow close enough to trade.
- Step 2: Use Blaze to cut the longest defender angle, but leave teammates a safe route. A wall that blocks allies can waste the same seconds it creates.
- Step 3: Curve Curveball around a nearby edge so it detonates immediately after becoming visible. Turn your own view away only as much as the timing requires.
- Step 4: Enter on the flash instead of admiring it. Clear the unblocked close angle first and communicate whether the flashed defender escaped.
- Step 5: Place Hot Hands on a retreat route, common close pocket or defuse position. Heal only when the team already owns space and the pause does not abandon a trade.
- Step 6: With Run It Back, mark the return point in a safe but useful location. Ask a teammate to protect the body and avoid returning into a cleared enemy path.
- Step 7: Because the ultimate costs seven points, count kills, deaths, plants and accessible orbs. Do not risk a round-winning weapon for an orb with no route out.
- Step 8: After entry, stop playing as if every ability must create a solo kill. Hold the captured lane, trade the next contact and preserve the post-plant crossfire.
Assign one player or one clear cue to every transition. Plans often fail because two correct actions happen at different times. Short, specific communication keeps information useful without filling the channel with narration.
Common mistakes
Phoenix players often flash too far from the corner, enter without a trader, heal while teammates fight or place the ultimate return point where an enemy can wait. Another mistake is using Blaze as decoration: every wall should remove a known angle or create a deliberate path.
Do not repair every failure by adding complexity. First decide whether the cause was information, timing, spacing, resources or execution. The smallest correction is easiest to remember and test on the next attempt.
Practice routine
In a custom lobby, throw ten left and right Curveballs from each planned entry and note where they become visible. Walk the Blaze path with a teammate to check gaps and team damage. Finally, rehearse a Run It Back route that can reach one meaningful fight before the timer ends.
- Record the first moment the plan became uncertain.
- Check whether the required resource was available.
- Review spacing before blaming mechanics.
- Keep successful parts when changing the failed step.
A replay or saved clip is more reliable than memory after a tense attempt. Review the decision before the outcome: a poor choice can succeed, and a sound one can still lose.
Communication and role ownership
Call “flashing left” or “flashing high” before the cast, then say which close angle you will clear. The second player confirms trade distance. During Run It Back, the body guard reports danger near the return marker instead of narrating the remote fight.
Every required job needs one owner and one backup condition. Name the information that triggers action instead of asking a teammate to guess from tone. When several tools solve the same problem, spend the cheapest reliable resource first.
Adaptation checklist
Against anti-flash turns, combine Curveball with a teammate’s recon or delay the peek by a fraction. Against utility stacks, use Blaze to cross rather than forcing the first choke. If the enemy hunts the ultimate body, move the return point and shorten the route.
If an update changes geometry, economy, cooldowns or damage, retest the affected step rather than assuming the whole guide is obsolete. The version label above defines the boundary of this advice.
Final routine
Phoenix succeeds when his self-sufficiency creates a team entry. Plan the seven-point ultimate, flash close, enter immediately and make the captured space easier for the second player to hold.
Keep one learning goal per session. A narrow objective makes improvement visible and prevents a long checklist from competing with the match itself.
Sources: primary release information or official records. Dates, scores and named features were checked against the linked source; evaluative passages are our own.
Continue with the Kaizensclan archive and our practical gaming guides.
Editorial note
Facts and mechanics were checked against the linked primary sources before publication.
This article was reviewed on August 10, 2026.

Related stories
VALORANT Bind A execute guide for patch 13.02
A reliable Bind A execute creates two simultaneous problems instead of sending five players through A Short. Control either Showers or the Short cubbies, cut.
VALORANT Lotus A execute guide for patch 13.02
A consistent Lotus A execute begins before the barrier drops. The attacking team needs a Rubble plan, utility for A Main and Tree, a plant location that.
VALORANT Haven C-site execute guide for patch 13.02
A Haven C execute succeeds when Garage, C Long and the defender rotation are handled as one timing. Patch 13.02 did not redesign Haven, so the plan remains.
Community channel
Join the discussion
Start a thoughtful, specific conversation about this story.
Verified readers only
Continue with Google to comment.
Your Google account creates a reader-only Kaizensclan profile. Your first comment is reviewed before publication.