Killing Floor 3 Specialist Team Composition Guide
Build a balanced Killing Floor 3 squad by assigning wave clear, large-Zed damage, healing, control, economy and fallback responsibilities. Read the verified.

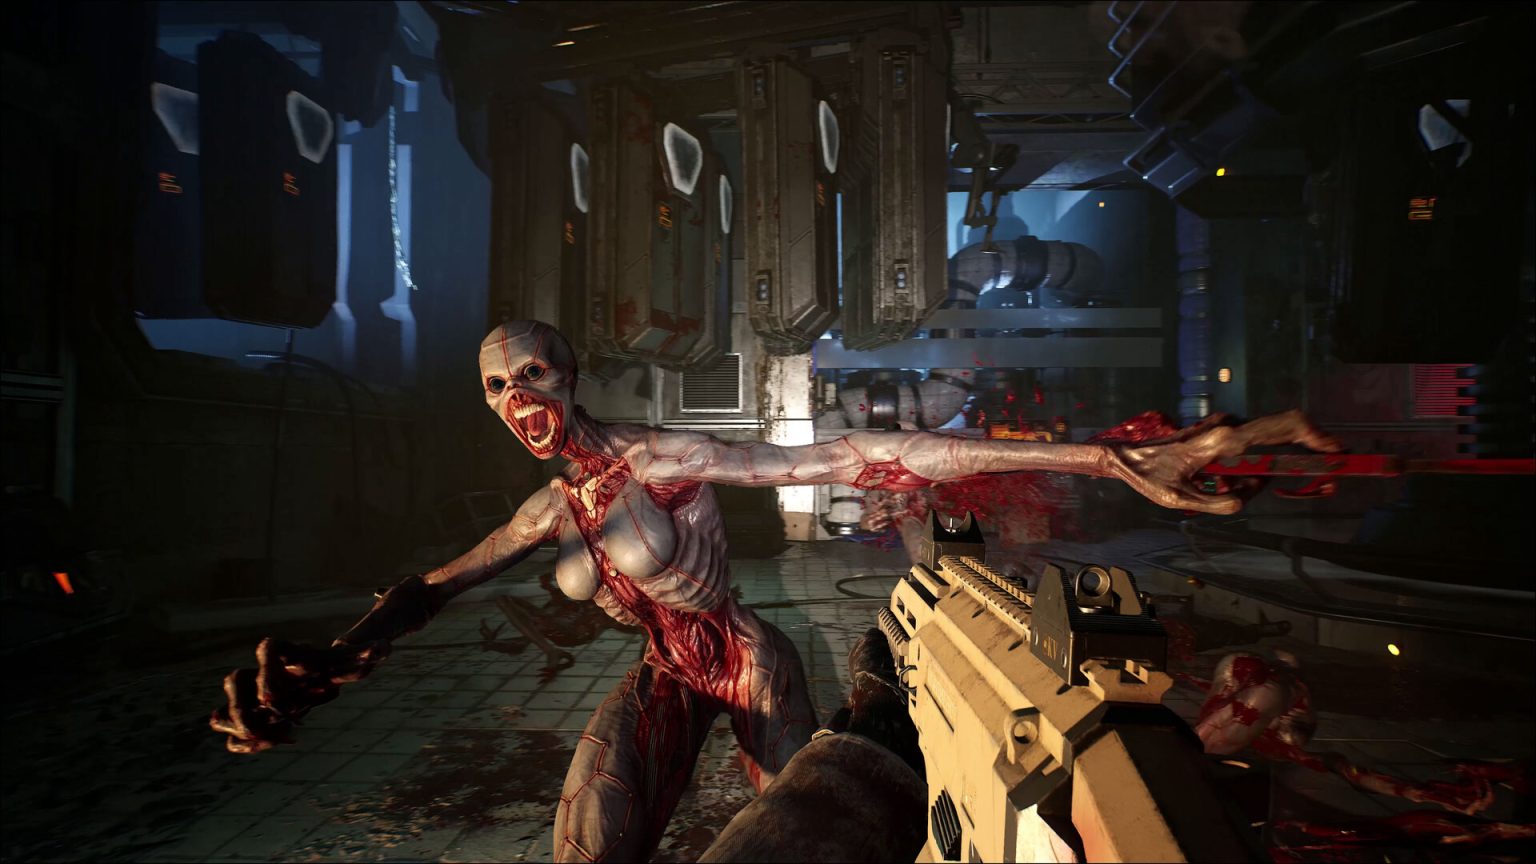
Killing Floor 3 supports teams of up to six Nightfall specialists against escalating Zed waves. A strong composition is not simply six different portraits. It covers ordinary wave clear, large-target damage, healing, crowd control and a safe retreat while leaving enough weapon flexibility for the map and difficulty.
Preparation and win condition
Before the first wave, ask who clears small Zeds, who saves burst for Scrakes or Fleshpounds, who maintains team health and who watches the retreat lane. Specialists have defined abilities and proficiencies, but weapon modifications and player comfort still matter. Assign primary and backup responsibilities so one death does not remove the only answer to a threat.
Step-by-step plan
- Secure dependable wave clear. At least two players should remove common Zeds efficiently without spending every premium round. They control lanes and prevent chip damage from becoming a healing emergency. Separate their firing arcs so both do not reload against the same cluster while an unobserved lane opens behind the team.
- Assign large-Zed burst. Choose one primary damage dealer and one backup who preserve ammunition or cooldowns for armoured priority targets. Call the focus before shooting. Accidental damage can trigger aggression while half the squad is reloading, so the team should either commit together or leave the target undisturbed until space is ready.
- Protect healing and recovery. The support player needs line of sight and room to move, not a permanent position at the centre of the horde. Every specialist should still carry personal recovery habits and avoid unnecessary damage. If the healer is pressured, the nearest wave-clear player changes job immediately instead of continuing to chase damage statistics.
- Build control around the map. Slows, stuns, environmental traps and chokepoints create time for damage and reloads. Decide which control tool starts the hold and which remains for retreat. Spending every option on the first cluster can leave the squad unable to stop the second spawn or a large Zed entering from another lane.
- Plan the fallback before the hold breaks. Name a route with enough width for the team and avoid placing every player inside a dead-end damage position. The last player to leave controls pursuit while the first clears the next space. A fallback is successful when the squad preserves formation; six separate escapes create six separate rescue problems.
How to communicate it
Use priority target, lane and resource calls. “Scrake left, burst on my stun” is better than general shouting. Announce reloads and low ammunition before the wave reaches the hold. Between waves, compare large-target resources and healing capacity before spending Dosh on overlapping roles.
Keep calls short enough to act on. State the next space, the resource that makes it safe and the condition that cancels the play. Separate confirmed information from a guess: “two seen” is useful, while “everyone is here” may cause the team to abandon the rest of the map without evidence.
Adaptation rules
On open maps, increase ranged coverage and define who watches mobile threats. In tight interiors, prioritise control, penetration and a clean retreat. If matchmaking gives the team duplicate specialists, divide jobs through weapons and lanes rather than demanding an immediate character change. The composition succeeds by covering functions, not by matching one fixed roster image.
A guide is a decision framework, not a script that must finish after its assumptions fail. If the opponent preserves a key cooldown, changes a defensive angle or reaches the objective first, return to the purpose of the step. Replace the tool, delay the timing or choose another route instead of completing familiar inputs into a known counter.
Practice routine
Play one lower-difficulty match where every player names a primary and backup job before Wave 1. After each wave, identify which lane caused the most health loss and whether the large-target call was early enough. Increase difficulty only when the team can retreat together without losing its healer or leaving the damage specialist isolated.
Record one measurable result at a time: arrival timing, resources remaining, first-trade success or objective conversion. Three reviewed repetitions create a better baseline than ten attempts performed without checking why they worked. Once the baseline is stable, introduce one enemy response so practice still resembles a match.
Common mistakes
Common failures are using all burst ammunition on common Zeds, forcing the healer to lead movement, stacking six players in one firing line and beginning a large-Zed fight during multiple reloads. Teams also collapse when nobody owns the retreat call and every player waits for someone else to move first.
Final checklist
- Confirm the objective and the first responsibility.
- Check the resource or information that makes the play safe.
- Name the condition that cancels the plan.
- Convert the advantage or reset instead of lingering.
This guide is written for Killing Floor 3 launch specialist roster. Later patches can alter geometry, cooldowns, economy or objectives, so confirm the live version before copying exact timings.
Source: official release information.
Read more in our practical guides and browse the Kaizensclan article archive.
Editorial note
Facts and mechanics were checked against the linked primary sources before publication.
This article was reviewed on August 7, 2026.

Related stories
Path of Exile 2 Sorceress leveling guide for 0.5.4e
Path of Exile 2 Sorceress leveling is smoother when the character solves one damage loop before collecting every elemental skill. Patch 0.5.4e is the referenc.

Minecraft mace combat guide for Java 1.21.9
Minecraft mace combat turns vertical movement into damage. Java Edition 1.21.9 is the reference version. A smash attack requires striking while falling far.
Dota 2 Watcher control guide for patch 7.41e
Dota 2 Watcher control is useful when it protects the next movement, not when a support activates every structure on cooldown. Patch 7.41e is the reference.
Community channel
Join the discussion
Start a thoughtful, specific conversation about this story.
Verified readers only
Continue with Google to comment.
Your Google account creates a reader-only Kaizensclan profile. Your first comment is reviewed before publication.