VALORANT Lotus Retake Guide for Patch 13.02
Use this VALORANT Lotus retake framework for Patch 13.02 to group defenders, clear rotating doors, layer utility and defuse without feeding isolated duels.

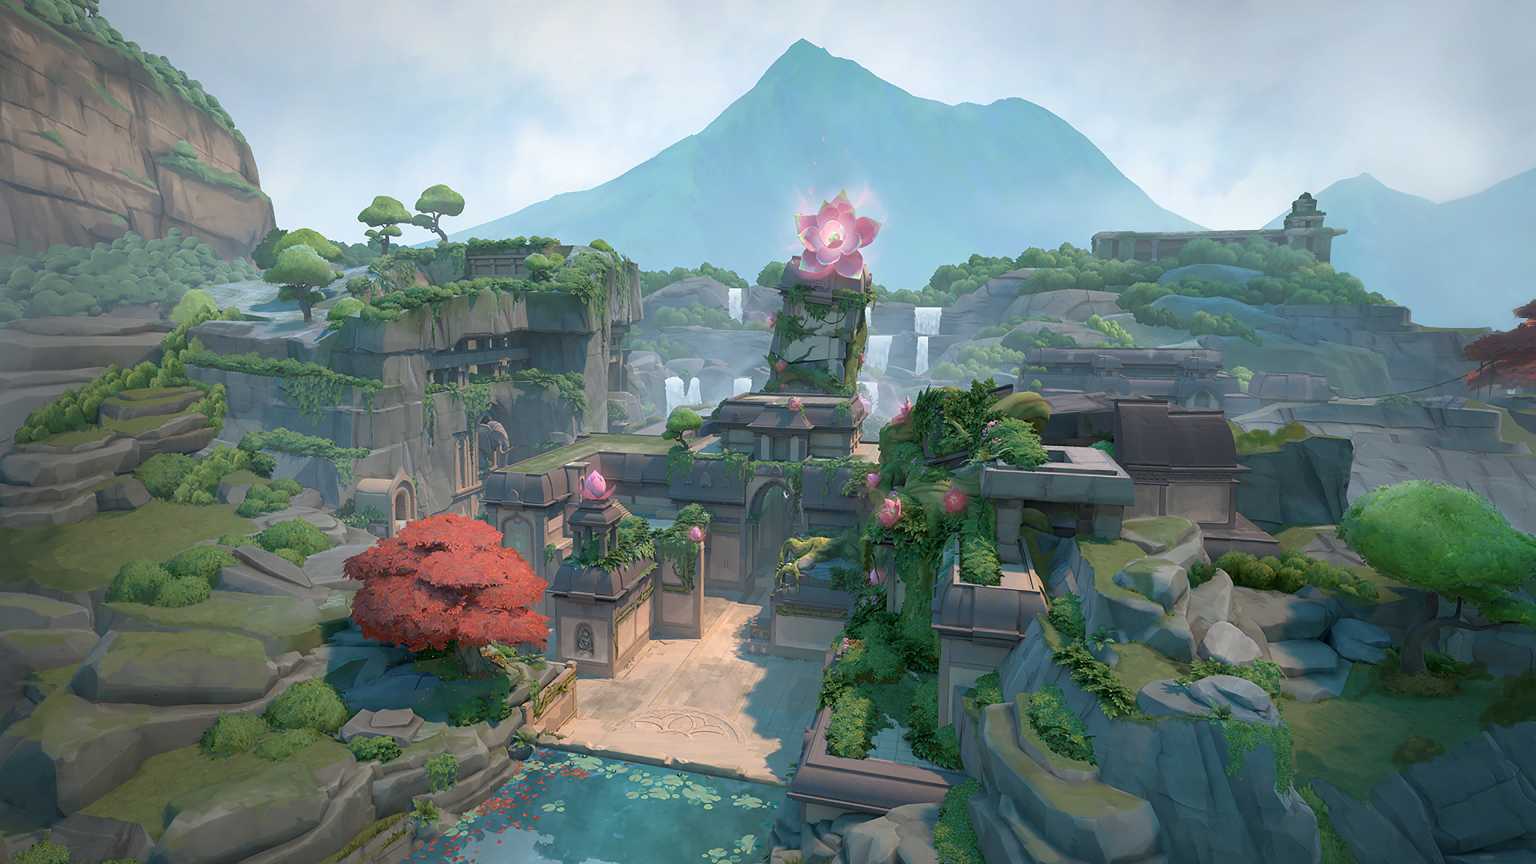
Lotus entered the Retake map pool in VALORANT Patch 13.02, but the lessons transfer to standard play. Three sites and rotating doors tempt defenders into separate routes. A successful retake begins by grouping, identifying the likely plant and spending utility in a planned order.
Before the match
Before contact, name who holds the defuse and which two players form the first trade pair. Count recon, smoke, flash, displacement and ultimate tools. A player arriving early should gather safe information, not convert a five-versus-four retake into four-versus-four with an isolated peek.
Step 1: Read the plant and remaining space
Use the spike position, last contacts and open doors to infer attacker locations. Do not clear every corner on Lotus. Decide which sector must be owned for the defuse and which distant angle can be blocked by a smoke or watched by one player.
Step 2: Choose two connected entry lanes
Attack from routes that pressure different angles but allow trades within seconds. A split that takes too long is two separate retakes. State the synchronization point, such as a recon reveal or flash, and wait for the slower group unless the spike timer forbids it.
Step 3: Control the rotating door
A door sound gives information to both teams. Open or break it only when the squad is ready to exploit the reaction. One player watches the immediate swing while another prepares utility beyond the doorway; nobody should stare at the mechanism with a live lane uncovered.
Step 4: Layer information before damage
Lead with recon, drone, dog or a safe shoulder where possible. Once an attacker is located, use displacement or a flash to make the duel favorable. Dumping every ability into an empty default position leaves no answer for the actual post-plant setup.
Step 5: Clear close, then isolate long
Lotus sites contain close cover that can punish a rushed defuse. Clear the nearest trade threat first and smoke a distant post-plant line instead of dry peeking it. If the smoke is temporary, communicate how many seconds of defuse progress it buys.
Step 6: Tap with a purpose
The first tap should force a response while teammates hold the likely swing. If nobody reacts, advance the defuse plan. Half-sticking is powerful only when the holder is protected; repeatedly tapping without changing positions simply gives attackers timing information.
How to communicate the plan
Keep calls short enough to act on. Name the next space, the key cooldown or utility piece, and the condition that cancels the play. Teammates do not need a lecture during the round. They need timing and responsibility. If the first condition changes, say so immediately instead of silently following an obsolete plan.
Good communication separates information from guesses. Report what was seen, heard or used before offering an inference. This prevents the team from stacking several assumptions into one reckless move. After the round, discuss one decision that can be repeated, not every mechanical error at once.
Adapting when the opponent responds
No guide survives contact unchanged. Opponents can hold a different angle, preserve a defensive tool or change their route after recognizing the pattern. Keep the objective of each step even when its exact method changes. If a smoke, ward, spell or path no longer removes the intended threat, replace the tool or choose another timing rather than completing the script for its own sake.
Use the first failed attempt as information. Identify whether the plan lost to execution, missing knowledge or a correct enemy counter. Execution can be drilled; missing information can be gathered; a hard counter requires a branch. Treating all three as bad luck prevents improvement.
Practice routine
Create custom rounds with one fixed plant on each site. Give attackers two allowed post-plant areas, then rotate them between attempts. Defenders score the drill only if the first death is traded and the defuser is assigned before the tap. Add ultimates after the basic route is stable.
Measure one result at a time: arrival timing, resources remaining, first-trade success or objective conversion. A simple written note after three repetitions is more useful than ten unreviewed attempts. Once the baseline is stable, introduce one variable so the practice still resembles a live opponent.
Common mistakes
Avoid three uncoordinated entrances, premature door noise, utility thrown without a follow-up, and every player chasing the same revealed attacker. The spike is the objective. Sometimes the correct retake ends with one defender staying on the defuse while teammates accept unfavorable-looking fights to protect the timer.
Continue with our practical guides and follow the latest stories in the Kaizensclan archive.
Final match checklist
Before committing, confirm the objective, the first responsibility and the exit condition. During the play, watch the information that could invalidate the plan. Afterward, convert the advantage or reset safely. This three-part checklist keeps a practiced sequence connected to the live match instead of turning it into automatic movement.
Editorial note
Facts and mechanics were checked against the linked primary sources before publication.
This article was reviewed on August 7, 2026.

Related stories

VALORANT Lotus A execute guide for patch 13.02
A consistent Lotus A execute begins before the barrier drops. The attacking team needs a Rubble plan, utility for A Main and Tree, a plant location that.

VALORANT Bind A execute guide for patch 13.02
A reliable Bind A execute creates two simultaneous problems instead of sending five players through A Short. Control either Showers or the Short cubbies, cut.
VALORANT Split B execute guide for patch 13.02
A Split B execute works when B Main and mid pressure arrive together. Patch 13.02 is the reference version. Clear close angles, deny Heaven vision and reserve.
Community channel
Join the discussion
Start a thoughtful, specific conversation about this story.
Verified readers only
Continue with Google to comment.
Your Google account creates a reader-only Kaizensclan profile. Your first comment is reviewed before publication.